Fab Academy Embedded Programming Assignment:
1. add (at least) a button to the serial echo hello-world board
2. modify the serial echo assembly program to respond to the button
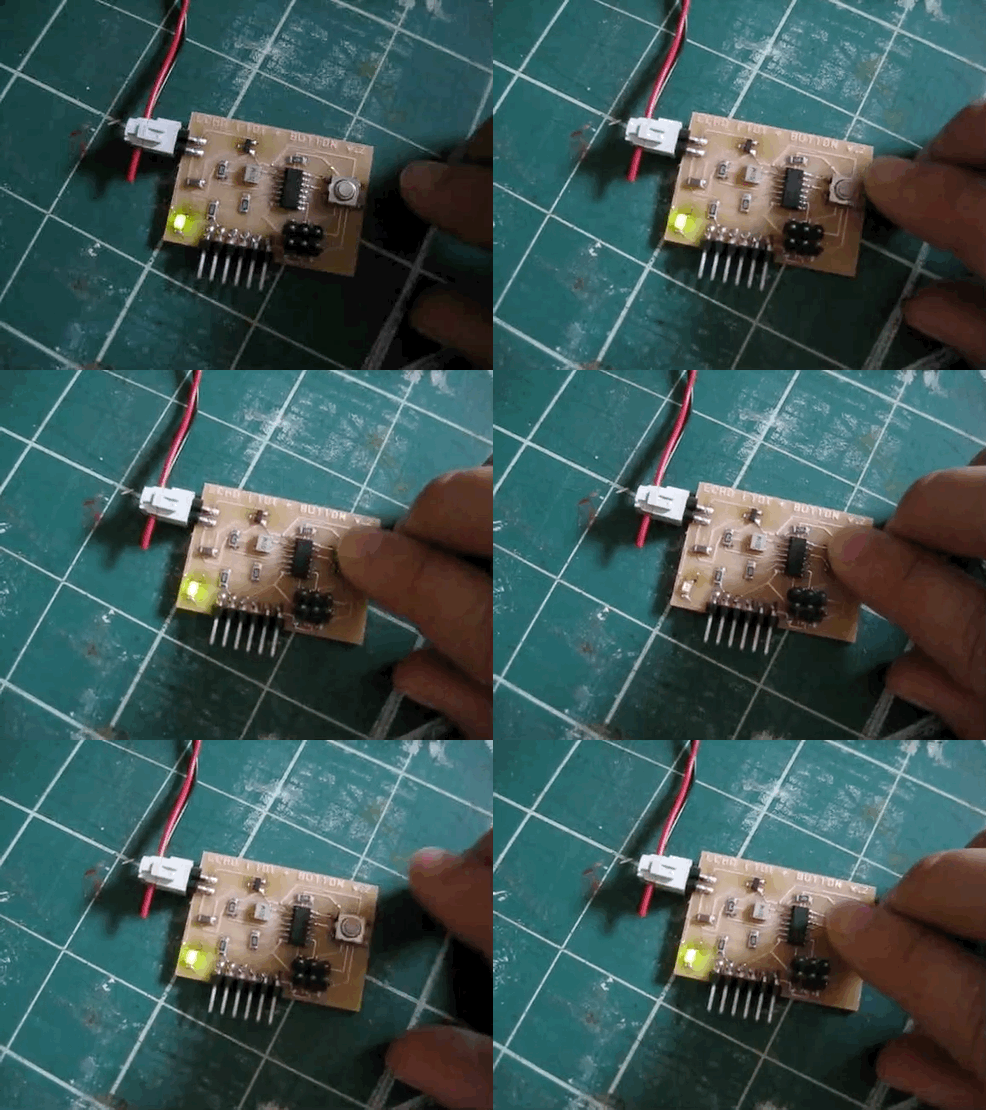
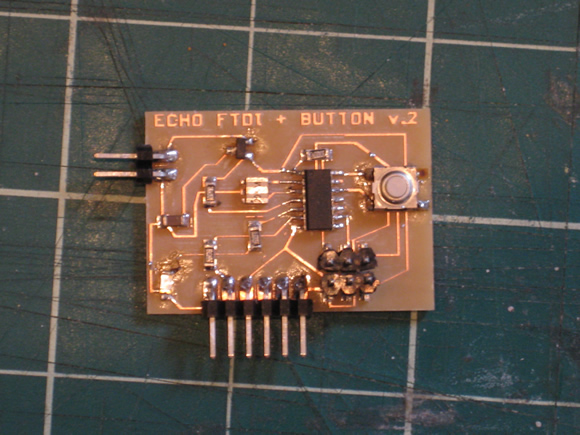
I modified the hello serial echo board (my modified echo board version2 – see previous posts) to respond to a button and added an FTDI header so I could use it as a substitute for the internet 0 serial board. (I have a Mac and therefore no serial port).
The behavior is that the LED is always on – but when the button is pressed, it turns off.
Shawn and I modified Elliot’s reprogramming the echo board code.
Here is the code:
; Modified.Hello.Echo.Blink LED.44.asm
;
; blink LED when button is pressed
;
; Code Created At FAB ACADEMY AS220
; by Shawn Wallace & Elliot Clapp
; Last Modified 08/05/2010  - Anna Kaziunas France
;
; Permission granted for experimental and personal use;

.device attiny44
.org 0
cbi DDRA, 1
sbi DDRB, 2
loop:
	sbic PINA,1
   	sbi PORTB, 2
 	sbis PINA,1
  	cbi PORTB, 2
rjmp loop
Here is How to Get the Board Running:
I use an usbtiny programmer.
Copy the above code into a text file and save it with YourFileName and .asm extension.
Compile it using gavrasm:
gavrasm YourFileName.asm
Compiling the file will create a .hex file.
First – set the fuses on your board:
avrdude -p t44 -c usbtiny -U lfuse:w:0x7E:m
Second – flash the attiny44 with the program code you just compiled:
avrdude -p t44 -c usbtiny -U flash:w:YourFileName.hex

