I am still working on my Fab Academy 3D Molding and Casting project (a 3D model and cast of the TARDIS. The implementation of my model proved complicated.
The Fab Academy Assignment
- Machine a mold and cast parts in it
The Project: TARDIS multi-mold cast
Starting with the cad.py created .rml files (for details on the 3D modeling process see my TARDIS: 3D Modeling post), I carved several molds out a block of machinable wax using the Modela milling machine.
Wax Molds
There were a few mishaps creating these molds. The z-max setting was not high enough on the side mold (you can see where the Modela bit drug through the wax and made lines that were not part of the design.). I learned that it pays to set the z-max close to the max of 1 so that it will clear the edges of the design. However, because this particular design took so long to mill out , 7 hours or so, I opted not to redo it if the damage was minor. Instead, I attempted to repair the damaged areas with wax.
After I made the wax molds, I made casts of each side and the roof using urethane rubber. The door was cast once, but the side needed to be cast 3 times to create the 3D object.
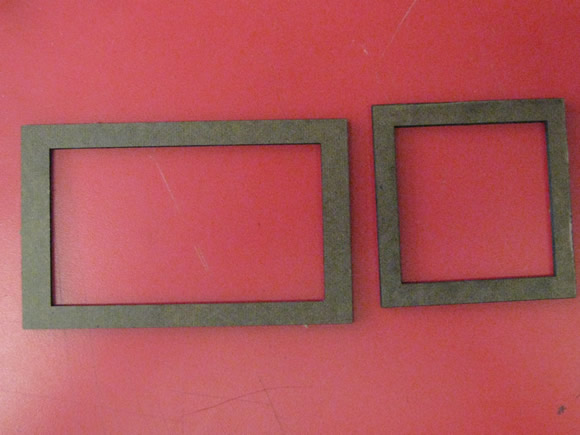
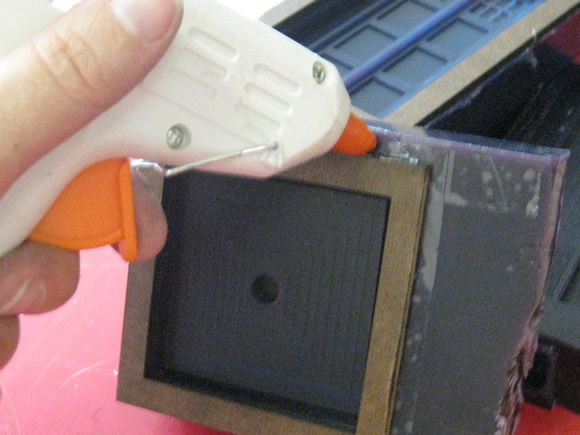
I did not allow for space at the top of the wax molds, so to ensure that the rubber would have enough room to capture the top of the design, I laser-cut some tempered masonite frames in to increase the vertical space for the rubber to fill. These frames also make it a little easier to get the rubber out of the mold.
Creating and Gluing the Frames
Mixing Urethane / Creating the Molds
At Fab Academy Providence, we used a smooth-on 2 part urethane mold mix. Just mix equal parts of each container (A and B) and mix slowly in a figure eight pattern to minimize the bubbles.
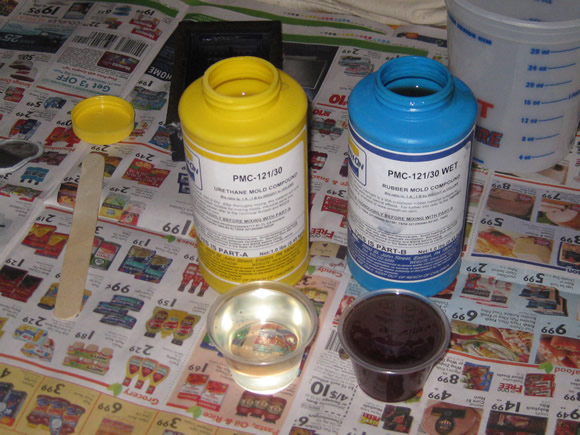
What I learned about this material:
- Mix very thoroughly. Take your time (at least 10 – 15 minutes if you can stand it). The end result will be sticky if the parts are not mixed together well – My first two molds were sticky.)
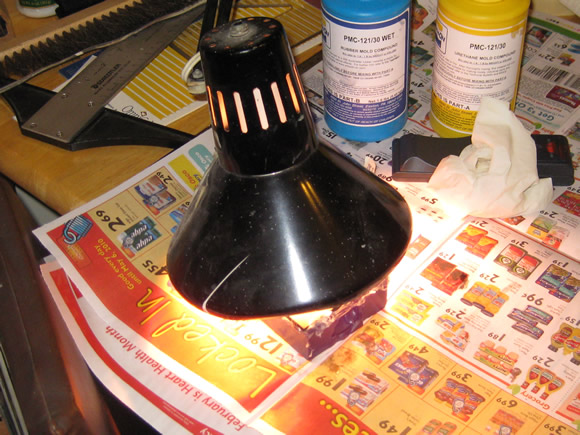
- Add heat. Heat both accelerates the process and creates a less sticky end product. I used a desk lamp positioned in close proximity to the freshly poured mold.
- Be careful not to leave the heat on longer than 15 minutes or so and let the wax and rubber cool before removing the rubber mold from the wax.
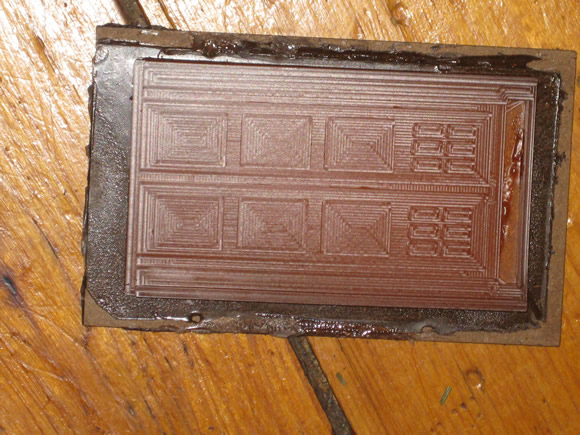
- I learned the heat lesson the hard way when my mold melted from excessive heat. (see photos below)
Beware of Melting Molds
All The Molds (Good and Bad)
Skills Learned
Tools Used
Next Steps:
- Create a box and system for keying in the sides of the police box so it can be cast.
- Get LED, resistor and battery to wire up the light on the top.
- Cast in hydrastone


