Categories
Fab Academy AS220 - Providence, RI Fab Academy Providence -Year II - Teaching

FabRC – Fab Academy Final Project Progress

Final Project Description

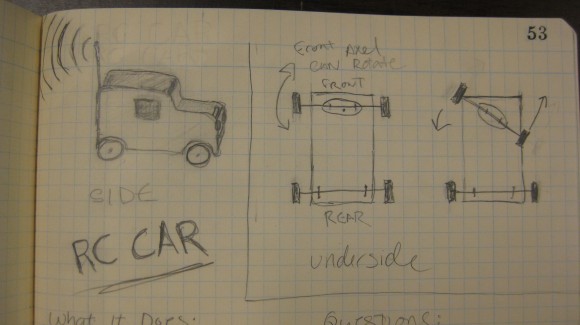
For my Fab Academy final project I have been working on a RC Car. In its final state it should:

  • Drive forward, backward and be able to stop
  • Turn left and right (forwards and backwards).
  • The car will be linked to the controller through wireless radios that communicate with modified hello Arduino boards.
  • The modified hello Arduino boards have an extra 6-pin header in order to access the analog pins on the micorcontroller (for control buttons / pots.

Items Currently Completed

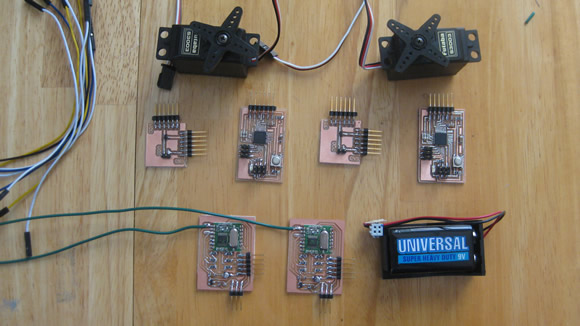
  • Arduinos and servos working together
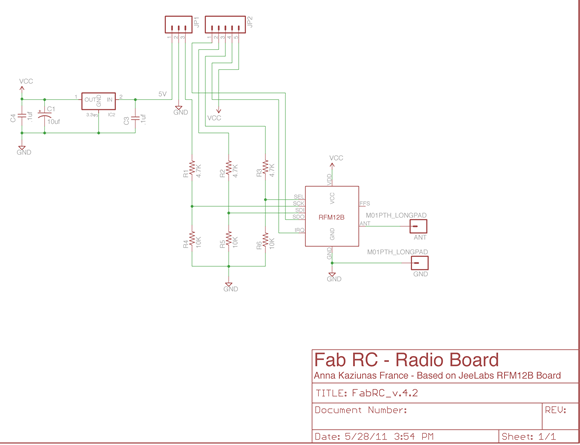
  • Radio and battery boards designed, milled and working

Completed Radio Boards
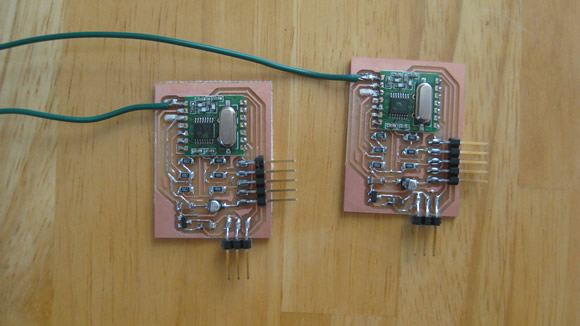

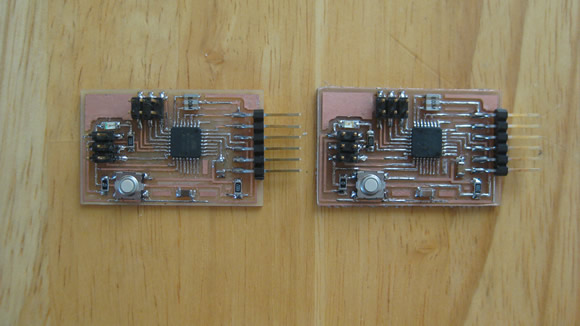
Completed Hello Arduinos
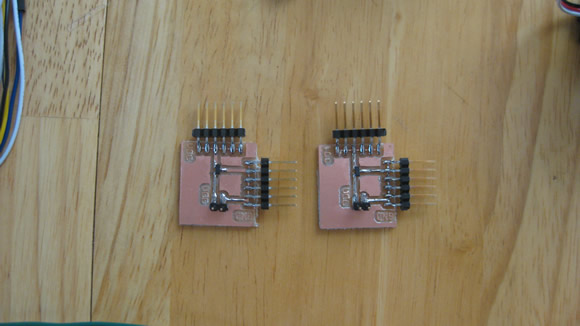
Completed Battery Connector Boards

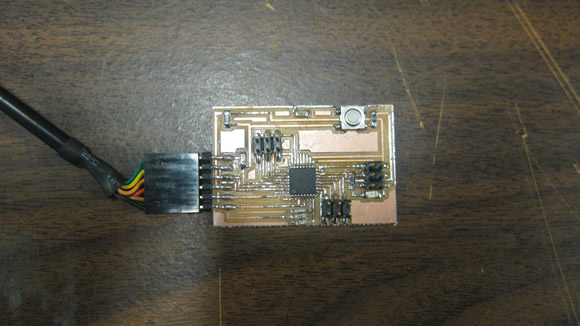
Completed Hello Arduino w/ Analog Pin Header
There were no analog pins pulled out to a header on the hello Arduino board – I needed some for this project – so I added an analog pin header.
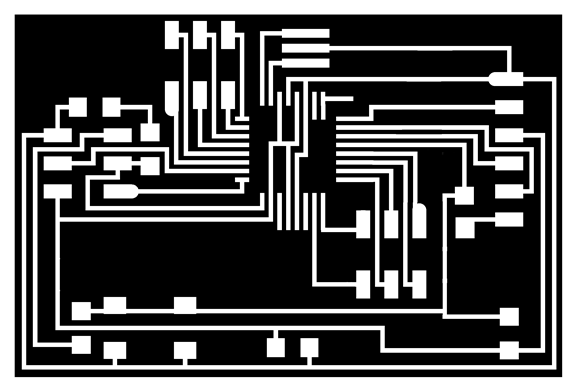
Hello Arduino w/ Analog Pin Header (traces & outline)

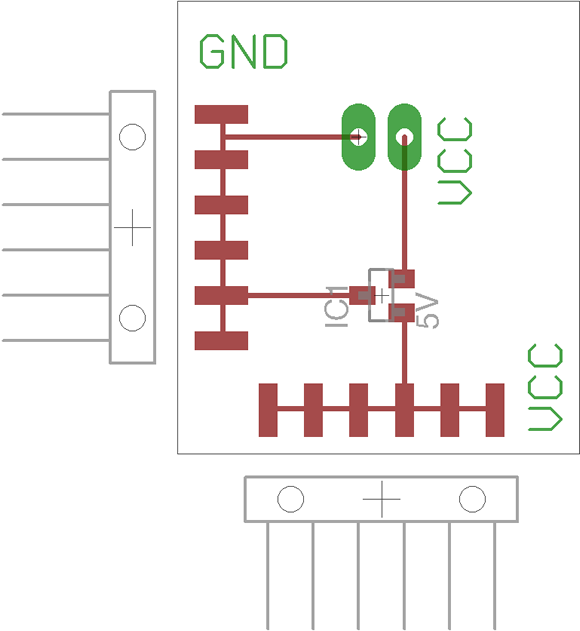
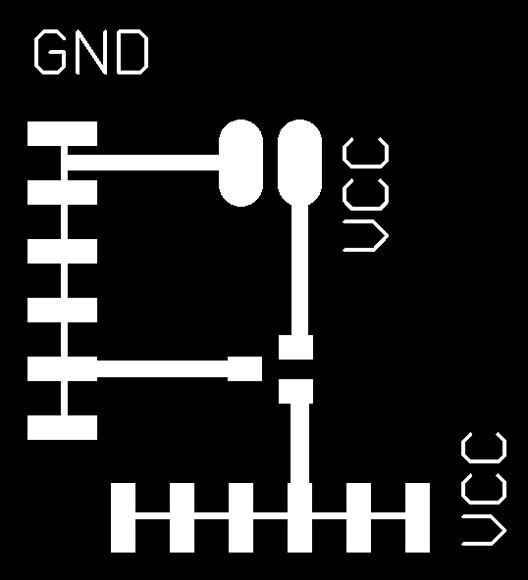
Battery Connector PNGs (traces & outline)
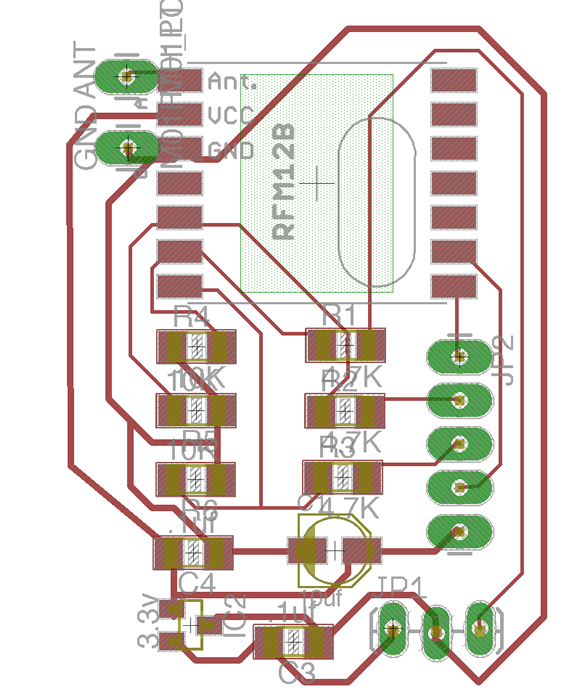
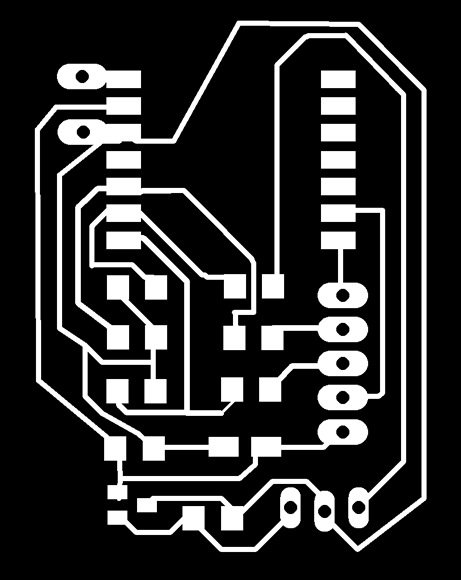
Radio Board PNGs (traces & outline)
Not Completed / Not Working Yet

  • The radio communication code has not been tested yet (short on the radio boards – still troubleshooting)
  • Still working on the press-fit car design – the car axels are not ready yet.
  • The servo controls are not hooked up.

Download Design Files (Eagle)

Get PNGs For Milling

Bill Of Materials

  • Coming Soon / Export from Eagle Files

Development Plans

  • Finish building the car
  • Test the radio boards
  • Hook up controls to the servos
Categories
Fab Academy AS220 - Providence, RI Fab Academy Providence -Year II - Teaching

FabRC – Project Developments

I am working towards my Fab Academy final project – a digitally fabricated RC car.

Items Completed So Far:

Radio boards have been designed (based on the JeeLabs RFM12B Board)


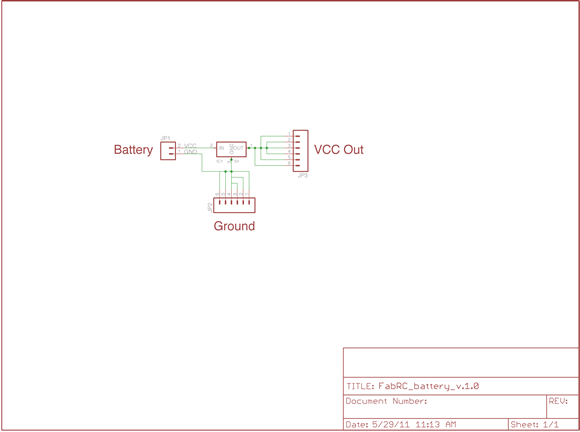
I designed the battery connector boards
battery_schem
battery_board

Hello Arduino boards milled, stuffed and programmed with Arduino bootloaders and tested with the servos

Tasks That Still Need to Be Completed:

  • Radio boards need to be milled and assembled.
  • Battery connector boards need to be milled and assembled.
  • Radio boards need to be tested to see if they communicate with each other
  • Car controls need to be figured out
  • Code needs to be modified / written and tested to make the radios communicate with each other.
  • Code needs to be written for the car controls.
  • Car framework (wheels, axels, body) needs to be designed and assembled

Items That Still Need to Be Resolved / Not Working Yet:

  • No analog pins on the Hello Arduino? How to hook up the controls?
  • Use Fabkit instead? (burned the bootloader, but the Arduino IDE won’t talk to the chip).
  • “Fingers crossed” that the radio boards will actually work.

Completion Schedule:

  • Planning on completing the project by the June 1 deadline . Otherwise, before the August 15 final completion date.
Categories
Fab Academy AS220 - Providence, RI Fab Academy Providence -Year II - Teaching

FabRC – Final Project Planning

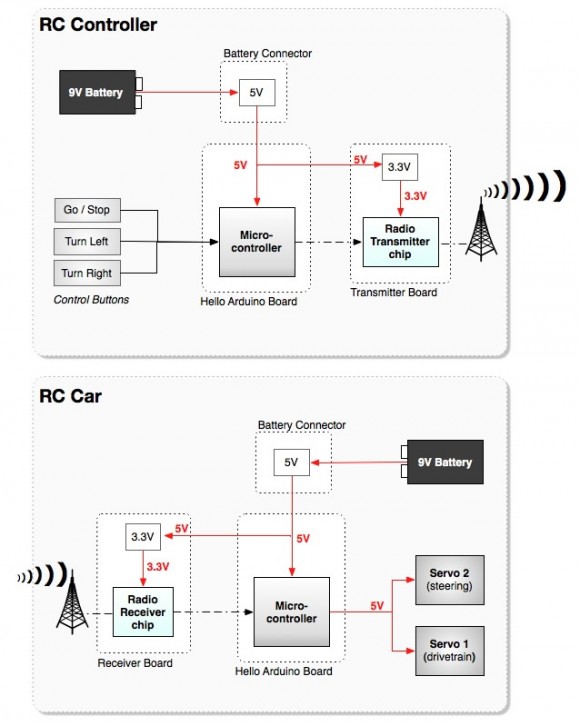
This week at Fab Academy we are planning our final projects.  I am creating a digitally fabricated RC car.  First I defined my all the system components, how they would interact with each other and what the logic / voltage levels needed to be throughout that system.

Logic Levels / Radio – Functional Block Diagram

What Will It Do?

  • Drive forward / stop
  • Turn left / right
  • Use radios to control the car wirelessly.

Who’s Done What Beforehand?

  • David Mellis made pressfit cars – this one needs to be more of an enclosure to house the electronics
  • JeeLabs: http://jeelabs.org/ has created some code and designs that I plan to modify and use with the Hope RF radios.

What Materials and Components Will Be Required?

  • 2 servos
  • 2 radio boards (utilizing the Hope RF radios)
  • 1 or 2 Arduino boards (hello Arduino boards)
  • Masionite
  • LEDs (possible decoritive addition)
  • Acrylic (possible decoritive addition)
  • Possibly plastic to cast parts (possible decoritive addition)
  • Metal rods for axels?
  • copper-clad PCB stock
  • Various components already in the inventory

How Much Will It Cost?

  • $0 – $20 Most parts already in the inventory.
  • Need to purchase Hope RF radios – $12.00 for a pair.
  • Need to purchase a few additional non-standard, non-inventory components from Digikey ($10.00 + shipping).

What Parts and Systems Will Be Made?

  • Connect the radio boards to the Arduino
  • Figure out how to issue commands to control the car
  • Turn lights on and off

What Processes Will Be Used?

  • Laser-cut press fit for the car body (possibly being replaced by molded shell / parts)
  • Milled circuit boards.
  • Molded parts for wheels / accessories

What Tasks Need to Be Completed?

  • Need to investigate how to get the boards to talk to each other.
  • Control with computer keys at first.
  • Would like to eventually add a wireless joystitck control box.

What Is The Schedule?

  • This Week –> Design the car and investigate the how to talk to the radios
  • Next Week –> Troubleshoot the project, work on the control structure.

How Will It Be Evaluated?

  • Can the radios talk to each other?
  • Do the controls work?