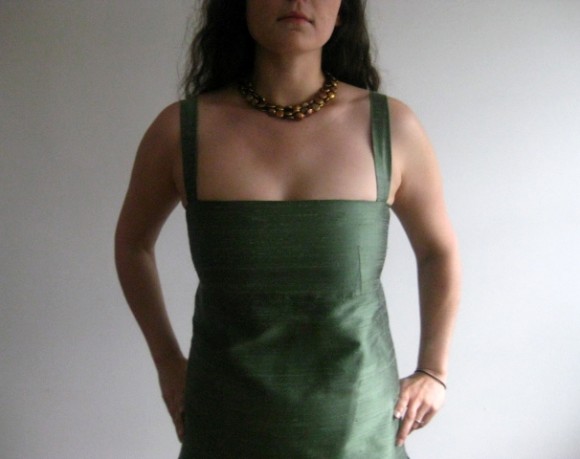
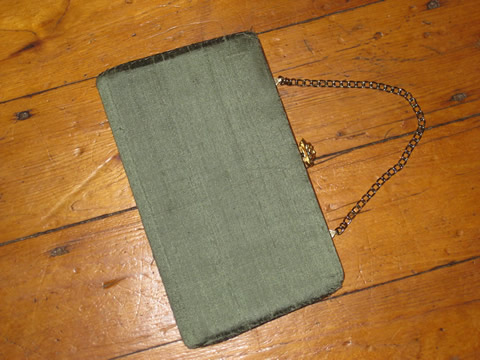
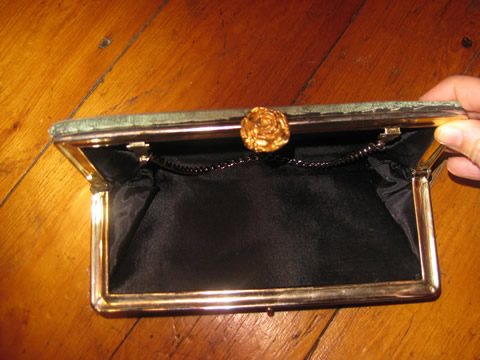
I needed a dress for Nick Mazonowicz and Elizabeth Celli’s wedding, so I decided to challenge myself and try a fabric that I had not worked with before – Dupioni Silk. I had the worst time finding a good pattern this year, but finally decided on the pattern McCall’s “Evening Elegance” 3436.

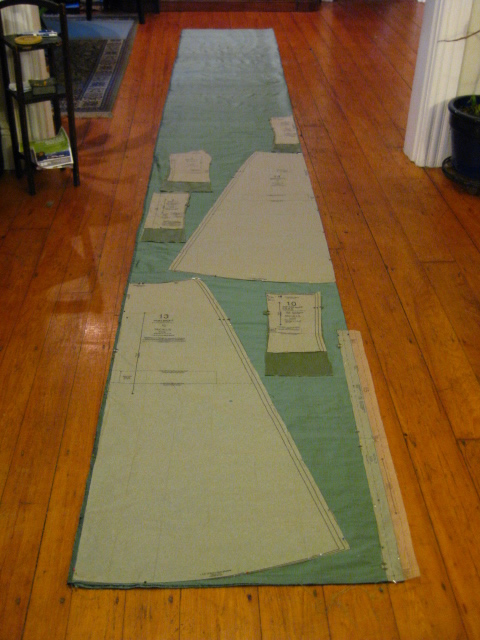
I looked at various silks in fabric stores (I was very disappointed with both the high price and the poor quality). I looked online and found a great seller on Ebay. I highly recommend Silk Baron for all your Dupioni Silk needs. They provide swatches (for a small fee & and it is definitely worth it to check the color and tone first) and I ordered a pile of them before I placed an order for several yards of “Frosted Pine” (shown in the photos below).
What I Learned:
1. Overcast all cut edges of the Dupioni. This silk unravels very easily, but if you overcast all the cut edges before you begin to sew the seams together, it is much easier to work with.
2.) For time sensitive projects – Order more fabric (and lining) that you actually need. I began with McCall’s “Evening Elegance” 3436, then after cutting it out (luckily just the skirt portion) I didn’t like the way the skirt was draping. I decided that I wanted to use another pattern.
3. Be flexible and willing to adapt the pattern.
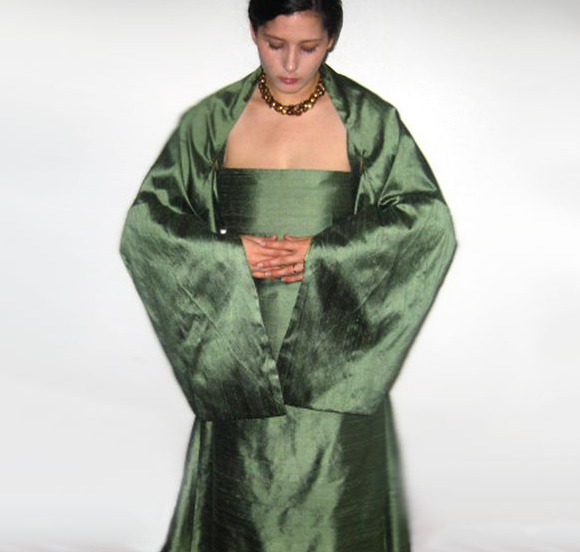
As I stated in #2, I changed my mind mid-project. The 2 piece design was not working the way I wanted it to, so I went in another direction. I used on of my favorite patterns instead – New Look 6862 – a simple empire style dress. Since I did not cut the bodice for the McCall’s pattern, I had just enough material left for the New Look dress and the side inset modifications to make the dress more sweeping and formal (see pictures below.

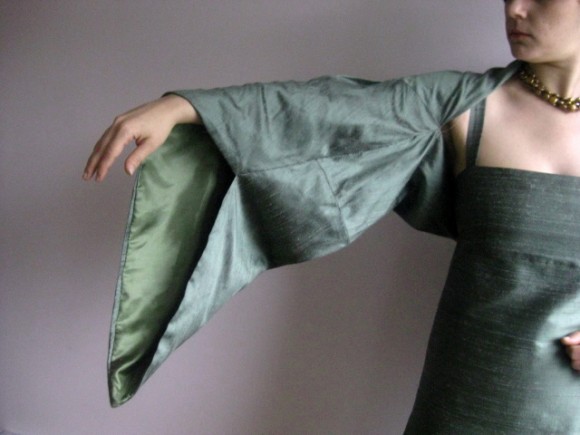
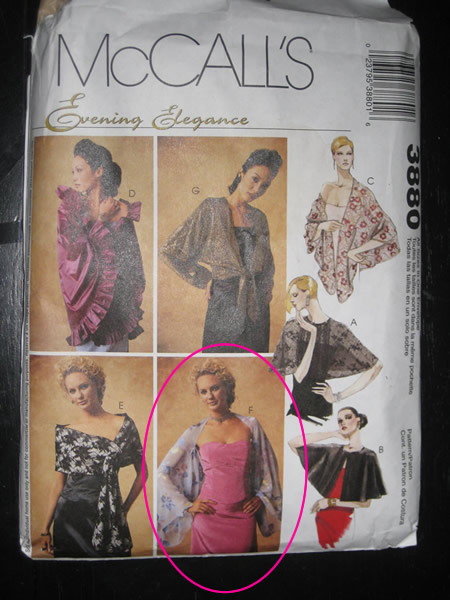
However, I now did not have enough material to make a wrap. The wedding was on September 26 and I thought that a sleeveless dress would be too cold by itself. I still had the skirt that I made from the McCall’s pattern, and using a wrap pattern from McCall’s 3880 (a different McCall’s Pattern), I adapted the skirt fabric into a wrap. This took some adjusting, but worked out pretty well, the curves of the skirt hem made for a unique sleeve style.
Finished Dress & Wrap Photos:
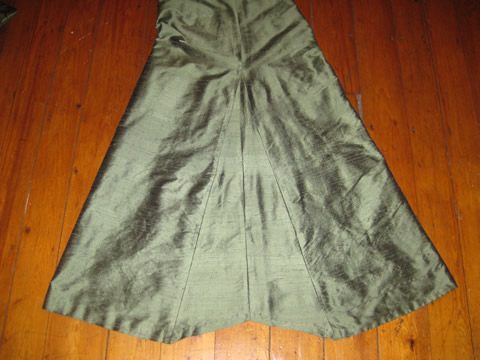
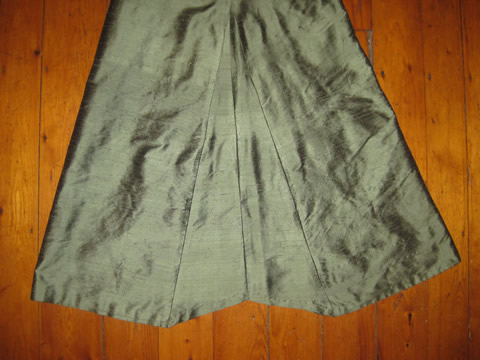
Here are some detail views of the side insert I mentioned above when discussion pattern modifications. The New Look pattern has a very straight form-fitting skirt, I modified that by not sewing the side seams from the low hip to the hem. I turned the dress to the side and I created a triangle pattern out of paper that just overstretched the gap. (None of these steps are exact, I just messed around with it until the dress looked good and hung correctly.)
I then cut the leftover fabric in the basic triangle shape and then cut that shape in half. I wanted to give the dress detail with the decorative side seams, so I re-sewed the triangle fabric (that I just cut in half) back together and pressed it out, creating the two small triangles in the insert. Then I adjusted the insert into place and basted the seams by hand. I then machine stitched the seams in place.
You may notice that the bottom of the insert is inverted. This is to keep the sides of the dress from hanging lower than the front or back and dragging on the floor.
