Categories
06 Embedded Programming Fab Academy AS220 - Providence, RI Fab Academy Providence -Year I - Student Projects

Hello Serial Echo

Fab Academy Module – 06 Embedded Programming


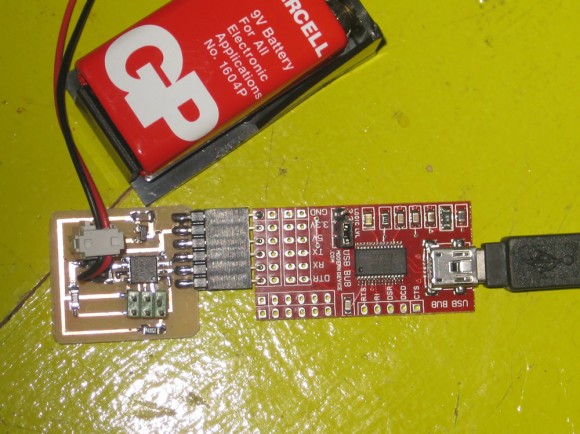
hello serial echohello serial echo

The Assignment

  1. read an AVR data sheet (ATTtiny 44) – COMPLETE
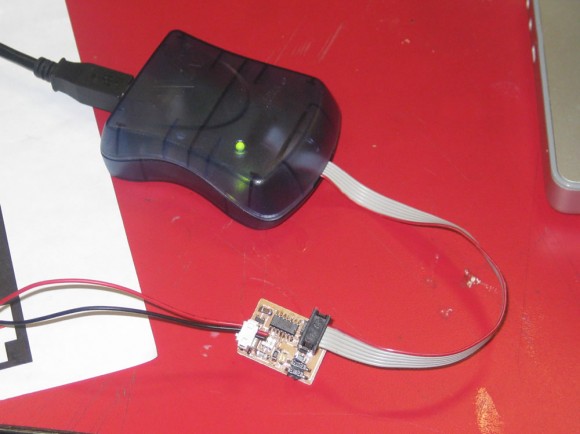
  2. make serial and programming cables – COMPLETE
  3. add (at least) a button to the serial echo hello-world board
  4. modify the serial echo assembly program to respond to the button
  5. modify the serial echo C program to respond to the button
  6. For more on items 3-5  –> See Modified Hello Echo – Part I: Hello Echo + Button + FTDI

The Project: Hello Serial Echo

This hello world board uses a python program (term.py) to send keyboard input over a serial connection from the board to the computer. It is called “serial echo” because when the computer is able to communicate with the board via serial, the python program will allow the keyboard input to be sent to the board and then “echo” it back to the computer. The keyboard input / text will then appear in the python window.

Type the following into the terminal at the prompt:

python term.py /dev/ttyS0 115200

Where “/dev/ttyS0” is the name of the serial port connection to your computer.

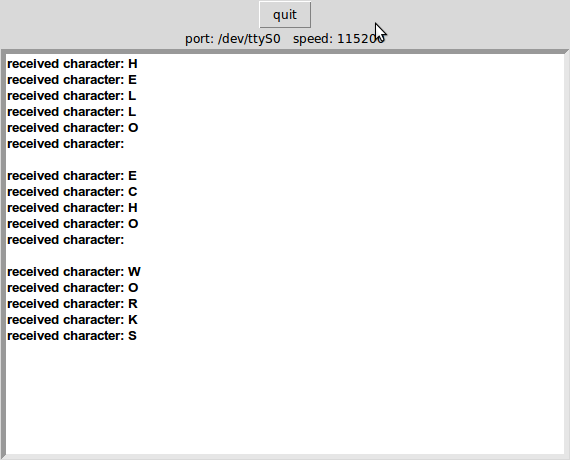
When It Is Working – You Should See..

hello echo output

Skills Learned

  • I learned how to send data back and forth via a serial connection using Neil’s python program term.py.
  • Cable making

Tools Used

  • Modela milling machine
  • python – term.py
  • a computer with a serial connection
Categories
10 Sensors, Actuators and Displays Fab Academy AS220 - Providence, RI Fab Academy Providence -Year I - Student Projects

Hello Step Response FTDI

Hello Step Response

Step response board + FTDI + Capacitive sensing

My first step in building this project was to start with the basics. I milled, stuffed and programmed the hello step response board (modified to use the FTDI header by Shawn Wallace). I have a Mac and I can’t troubleshoot / develop at home with the serial header examples.

What You Will See When The Example is Working:

I am using terminal in OS X 10.4.11  – this was the terminal command I used to run the hello step response example and what it will say when it can communicate with the board and begin plotting the graph.

Anna-Kaziunas-Computer:~/Desktop/fab_runs/step annakaziunas$
python hello.step.45.py /dev/tty.usbserial-A600dVDy
finding framing ...
start plotting
0

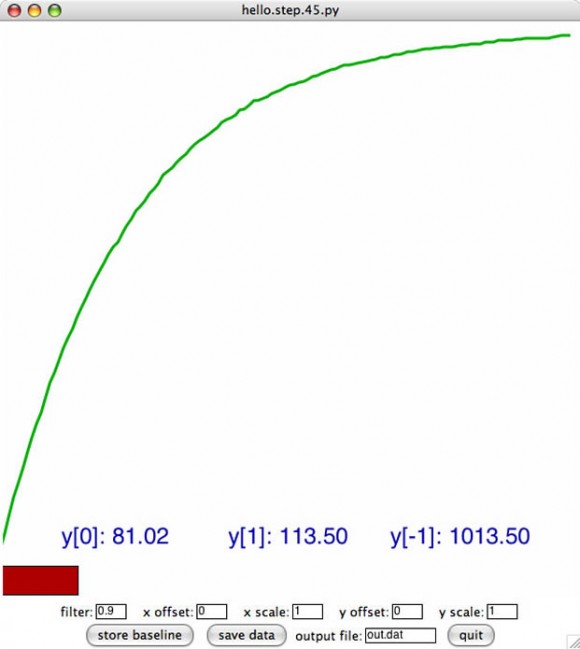
This is the graph that is displayed:

Here is a screenshot of the charging graph that is produced by Neil’s hello.step.45.py code.   This initial charging graph shows the capacitor charging up.

hello 44

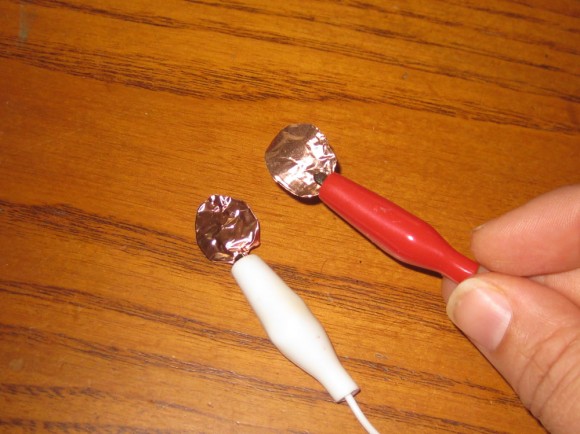
Here is the Capacitive Sensor I Made:

capacitive sensor

I used thin copper sheets to create the capacitor to test the hello step response board. I hooked them up to jumper wires.
When they copper sheets are touching or close to it, the graph will spike up. This indicates that current is flowing through the circuit.
When they are far apart the graph will flatten out. This indicates that the circuit is not connected.

For a video of this type of capacitive sensor in action – see the Puppet Master posts.

Categories
12 Embedded Networking Fab Academy AS220 - Providence, RI Fab Academy Providence -Year I - Student Projects

Internet 0 / Zero – Part 1: Milling, Stuffing and Setting Up the Boards

I0
The Fab Academy Assignment: build a network with at least two nodes
The Project: Internet 0

Progress so far:

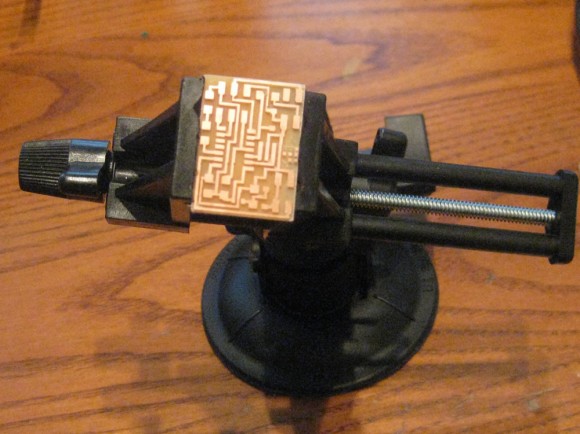
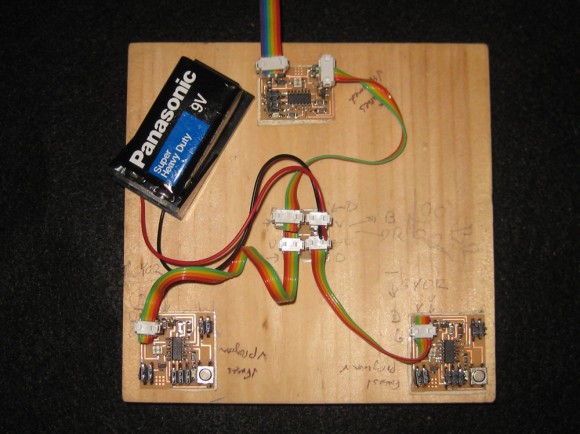
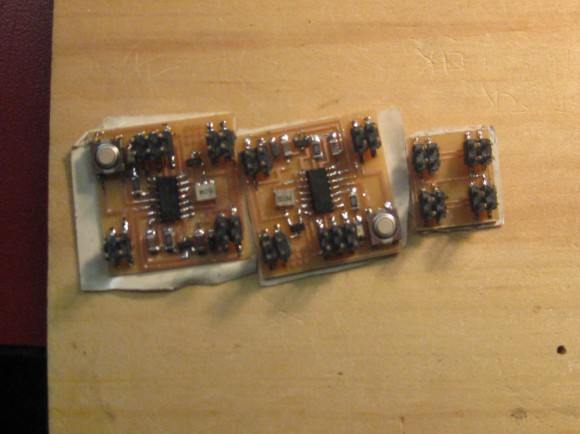
  • milled out boards:
  • 2 leaf nodes
  • 1 serial board
  • 1 hub board
  • made cables
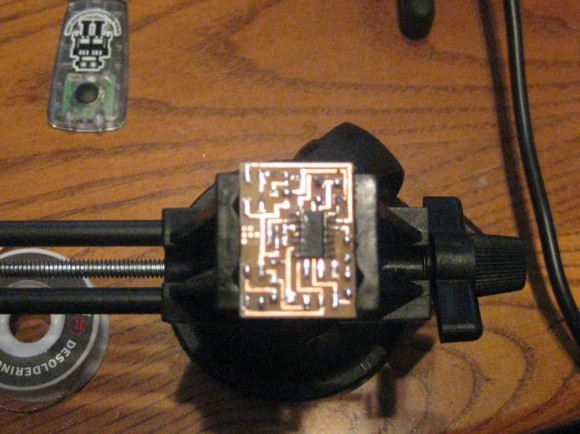
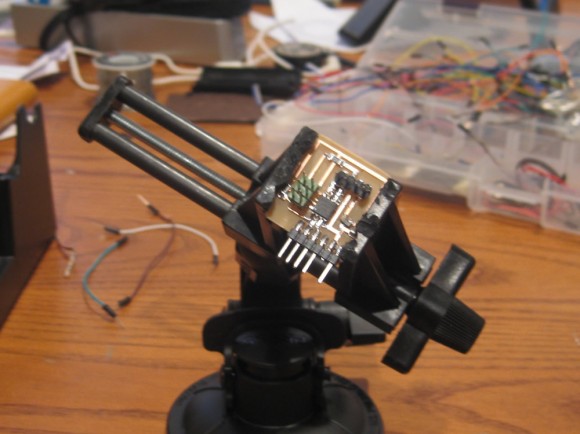
  • stuffed boards

Tools Used

  • Modela milling machine
  • Python Cad

Individual Boards / Boards in Stages of Completion

I0