Tag: MakerBot
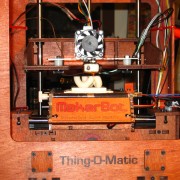
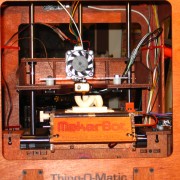
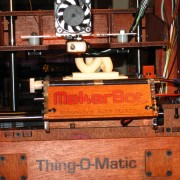
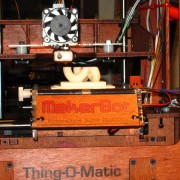
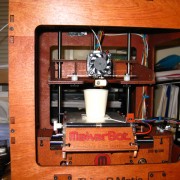
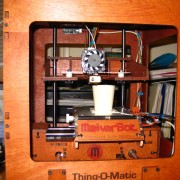
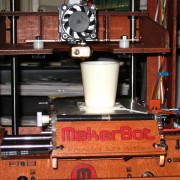
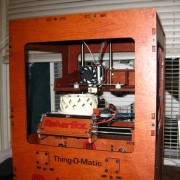
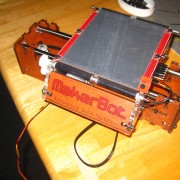
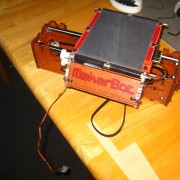
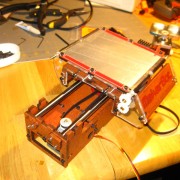
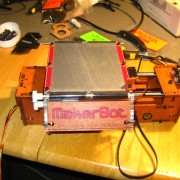
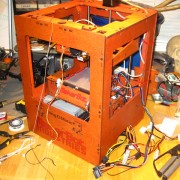
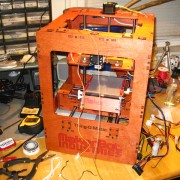
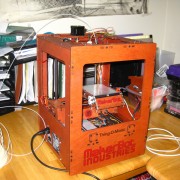
I have assembled my Thing-o-matic and she is now operational. However, she had some issues along the way. Here is what the problems were and how I fixed them.
My Configuration:
- MK7 extruder
- ABP
- MakerBot Motherboard v2.x (Gen4) with Mega 2560 (latest version of firmware)
- Extruder Controller v.3.X (Gen 4) (latest version of firmware)
- ReplicatorG 0028
System Information
 ReplicatorG version: 0028
 Java version: 1.6.0_29

Machine
 Profile Name: Thingomatic w/ ABP and Stepstruder MK7
 Driver Type: Makerbot4GAlternate
 Name: Thingomatic w/ ABP and Stepstruder MK7
 Motherboard firmware version: Unknown v3.1
 Motherboard communication statistics
  Number of packets received from the USB interface:0
  Number of packets sent over the RS485 interface:147081
  Number of packets sent over the RS485 interface that were not responded to:5
  Number of packet retries attempted:25
  Number of bytes received over the RS485 interface that were discarded as noise:0
Problem 1: When trying to print, Bot stops after homing
- When I try to print, the axes home, then stop. All red LEDs are on for each of the mechanical endstops.
- After about 4 minutes, there is an audible click and the red light turns on the safety cutoff. Nothing else happens.
What I have tried:
1. I ran the calibration script.
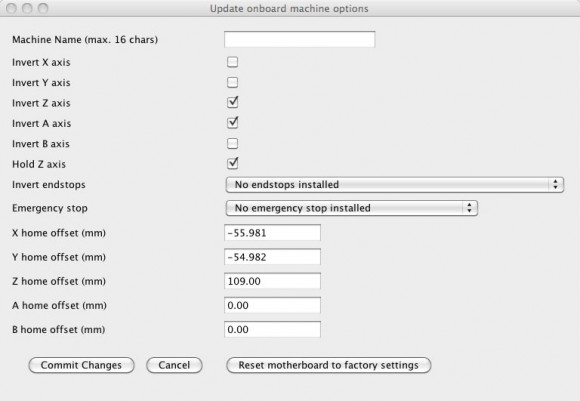
2. I tried making the offset settings for each axis 2mm less. No change.
Solution:
The temp sensor was too hot. I added a second layer of ceramic insulation to the Mk7 head under the temp sensor (in addition to the layer that MakerBot says to add). This solved the “homing, then stopping” problem. http://www.makerbot.com/docs/thingomatic/instructions-for-educators/stepstruder-mk7-assembly/ 3/4 of the way down the page, under the “Insulate the Heater” heading, the process is described. If you have already taped up your print head, untape it, remove the temp sensor, add a second layer of insulation between the heater block and the temp sensor. Re-tape.
Problem 2: ABP motor does not work, platform will not heat
- The ABP will not heat and the ABP motor will not move.
What I have tried so far:
- Checking the wiring on the extruder controller. (many times). It is wired up like this: http://www.makerbot.com/docs/thingomatic/instructions-for-educators/electronics/
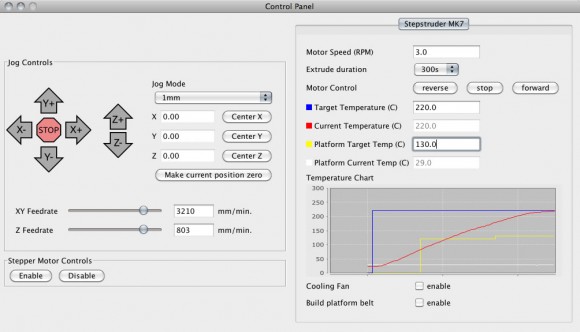
- When I click the “enable” boxes for the build platform belt and the cooling fan, the appropriate LEDs light up on the extruder board, but nothing happens.
Solution:
I had plugged the cable in backwards into the ABP. The cable gets plugged into the ABP with the ramp side up and the holes facing down. The platform heated after I reversed the cable orientation. I found this orientation hard to see in the MakerBot build instructions. See pic below for the right orientation.
Right Way
Makerbot Thing-o-matic Build
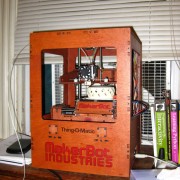
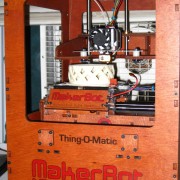
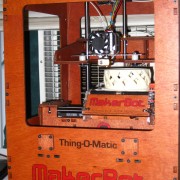
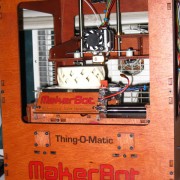
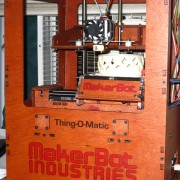
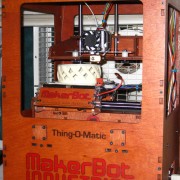
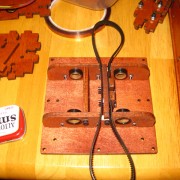
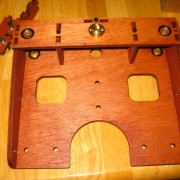
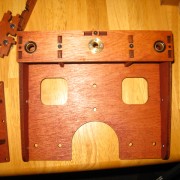
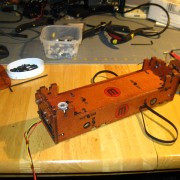
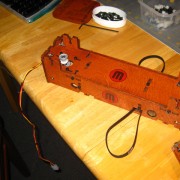
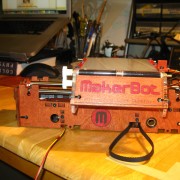
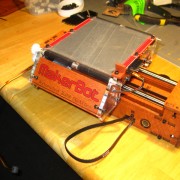
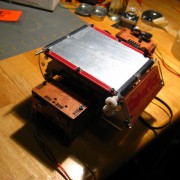
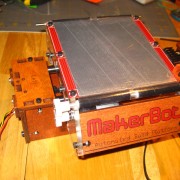
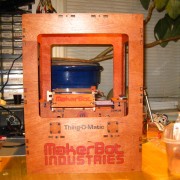
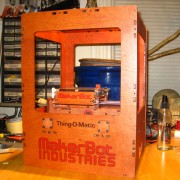
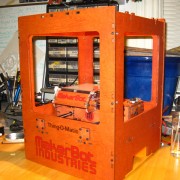
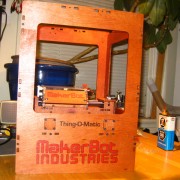
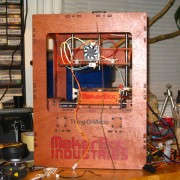
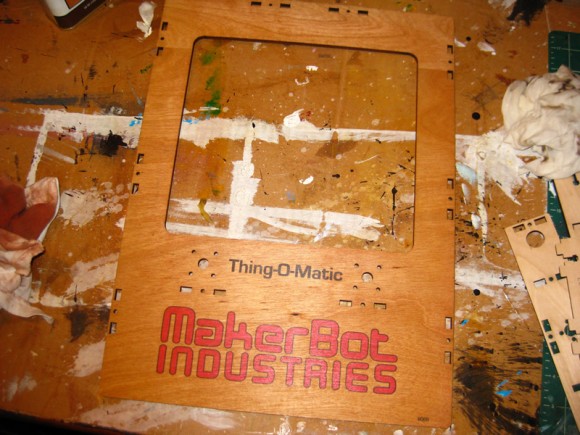
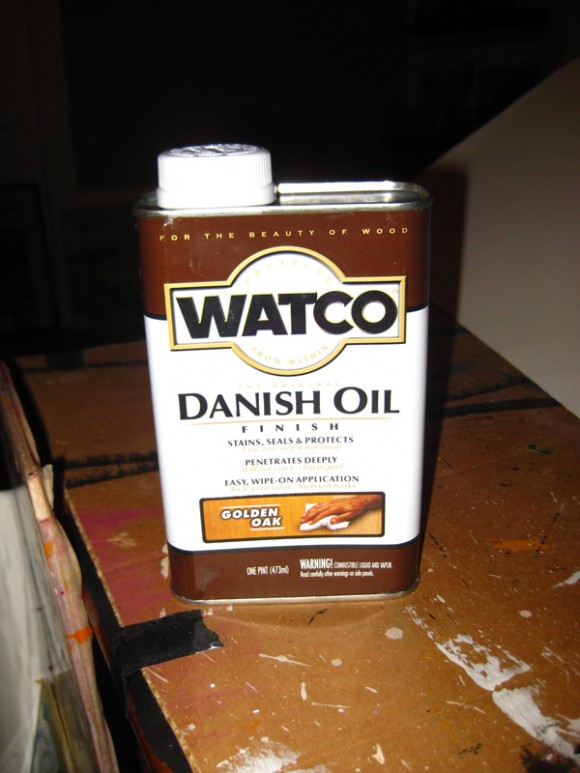
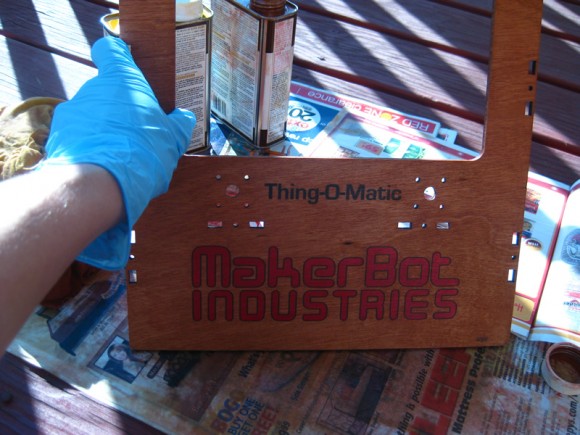
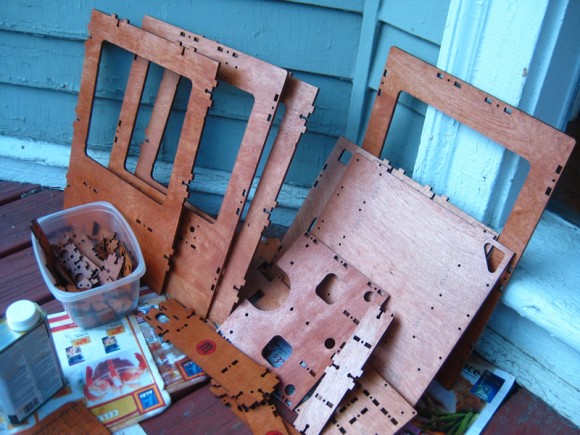
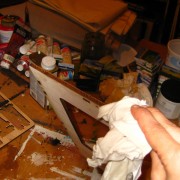
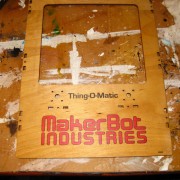
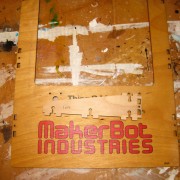
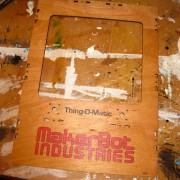
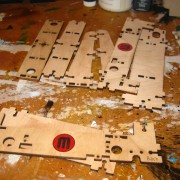
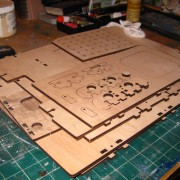
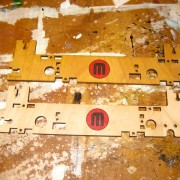
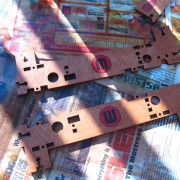
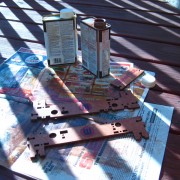
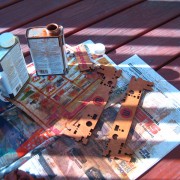
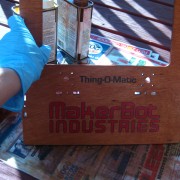
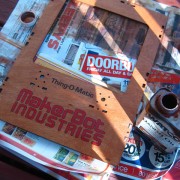
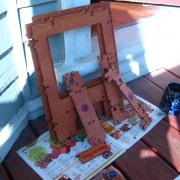
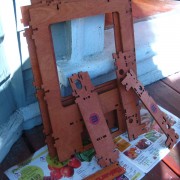
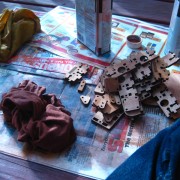
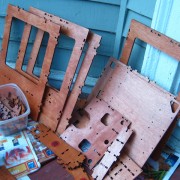
I heard that MakerBot owners had achieved some great results by using Watco Danish Oil to treat / stain / finish their MakerBots. I used “Golden Oak” and then did a second coat of “Cherry” over each plywood piece. In the image below, you can see the difference between the treated and untreated plywood. I am pleased with the final results, the Watco Danish Oil really brought out the wood grain.
