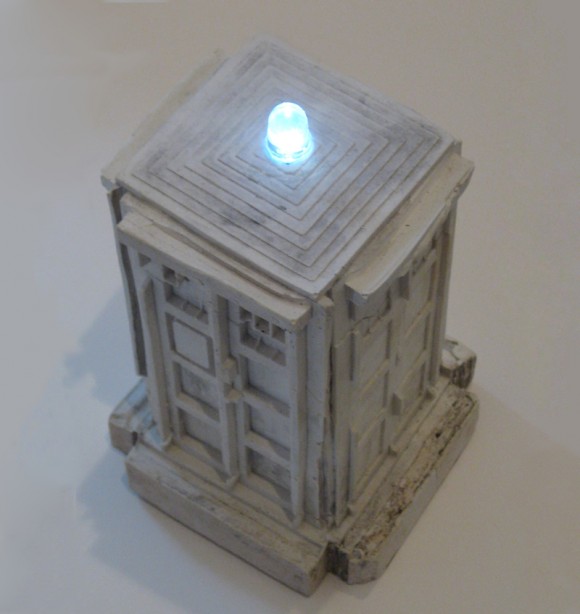
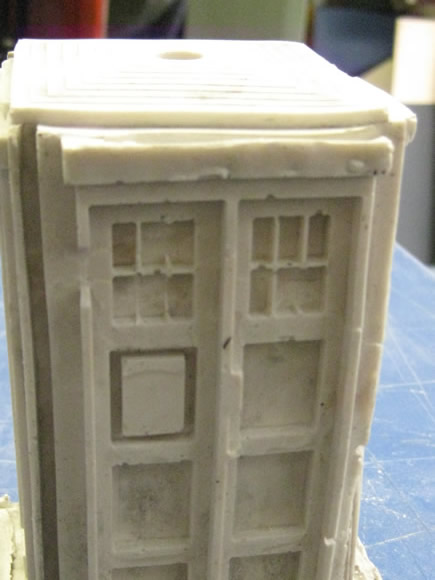
This project went through many adaptations and in the end, it did not turn out as a blue box, but more like a weathered garden statue. The hydrostone did not turn out completely white, but grime on the urethane molds made little swirls, further enhancing the marbleized look. It is not bigger on the inside, but the wiring and battery did fit nicely within the internal cavity. A switch turns it on and off. Although this endeavor did not turn out exactly as planned, I learned many things about thinking in 3D and many more about construction and molding objects in 3D.
So what makes this model a “TARDIS” not just a model of a British police box that looks like a light-up garden statue? Honestly, nothing but my intent. I set out to make a model of the TARDIS and that is what it will be called.
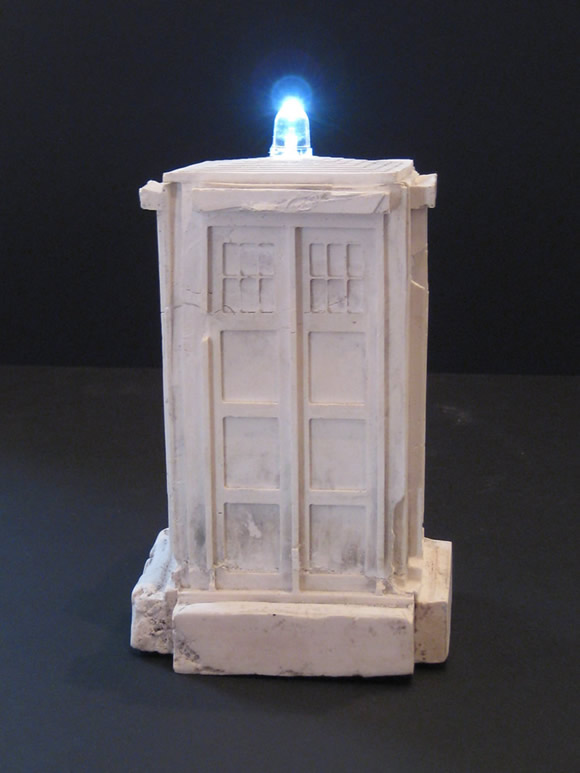
The process I used to create this model:
Previous Posts:
1. I designed the TARDIS in Google Sketchup.
> See Previous Post: TARDIS: 3D Modeling
2. I used the Modela to mill out the front, 3 individual sides and roof of the model in machinable wax.
> See Previous Post: TARDIS: Moldmaking
3. I used the block of machinable wax to create urethane molds of each of the pieces.
> See Previous Post: TARDIS: Moldmaking
Laser-Cut The Casting Container:
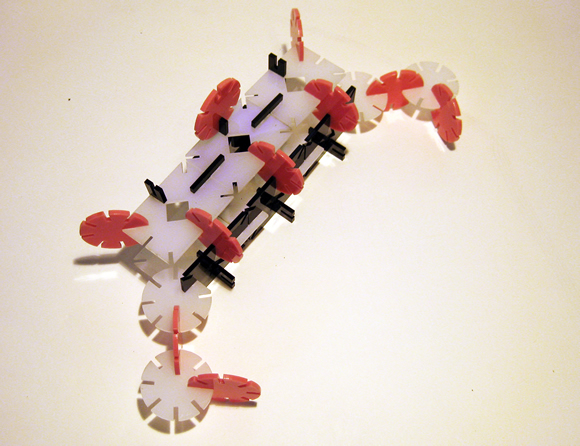
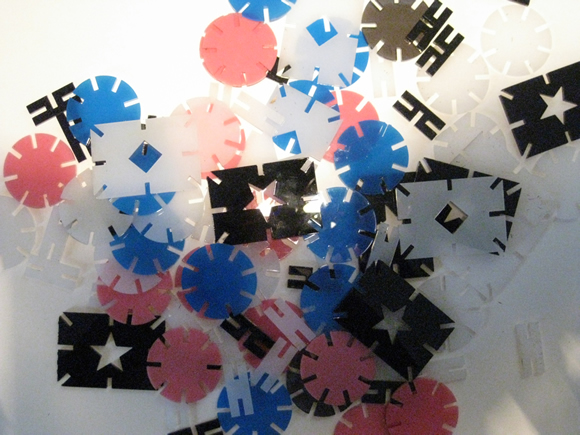
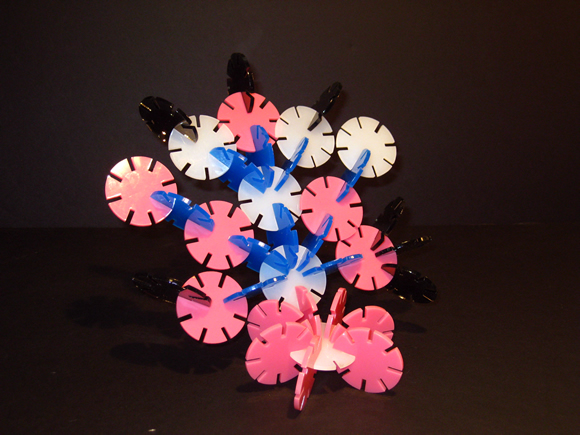
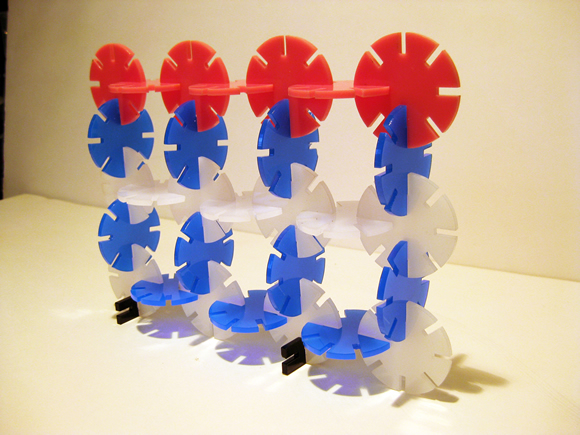
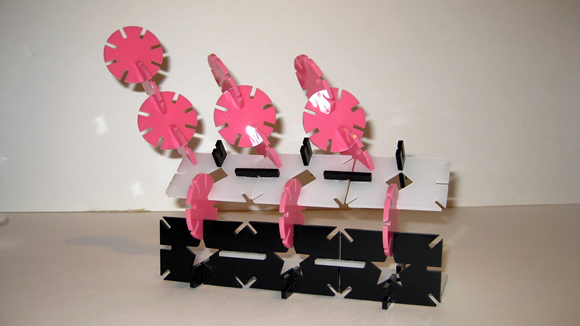
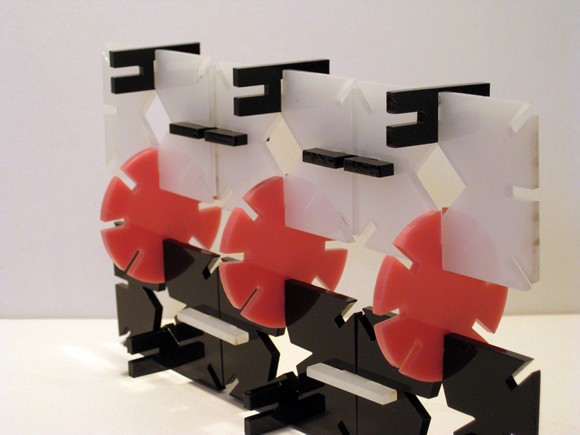
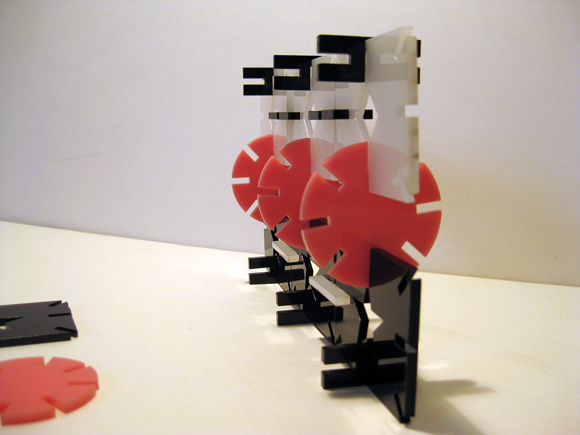
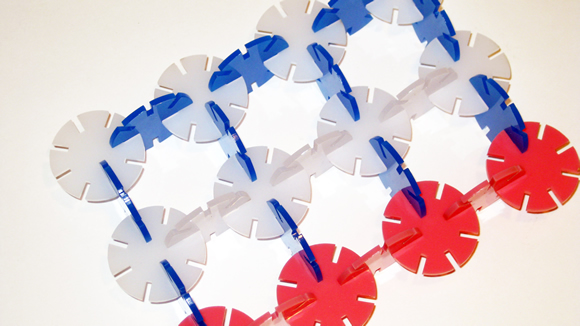
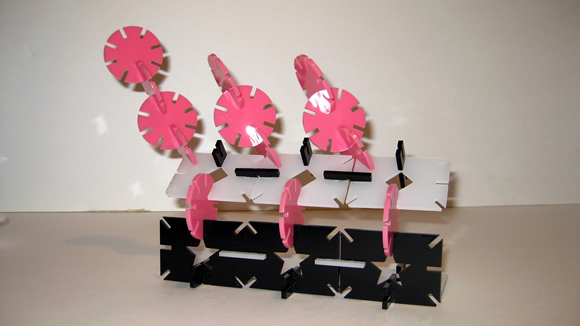
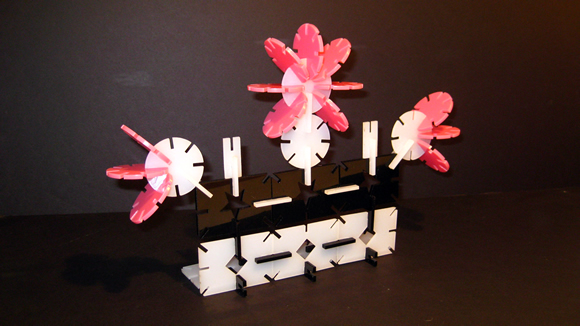
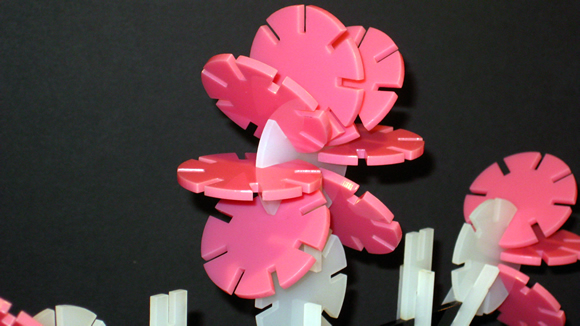
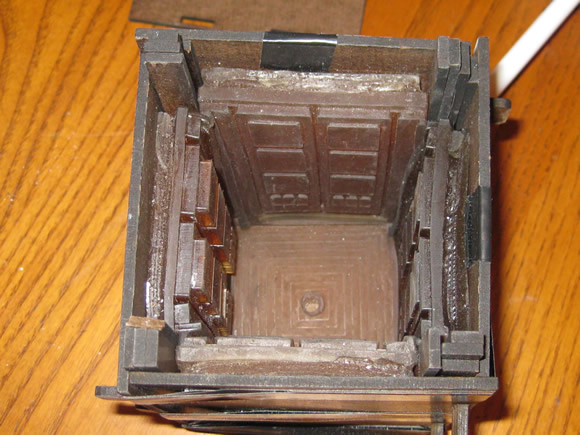
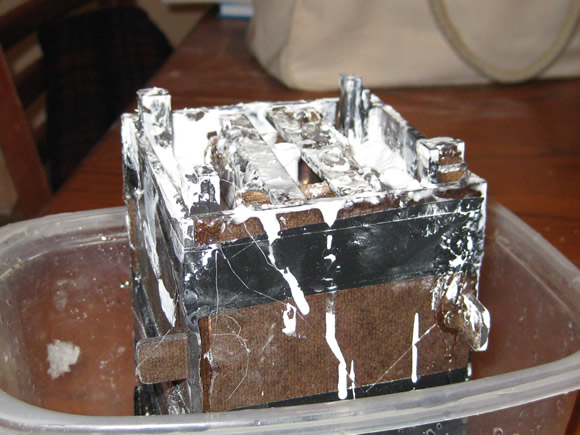
4. I designed and laser cut an adjustable press-fit box to place the individual urethane molds in order to cast the TARDIS in hydrostone. (I also custom-cut shims to key in the urethane mold edges.)



Putting Together the Casting Container / Aligning the Mold:
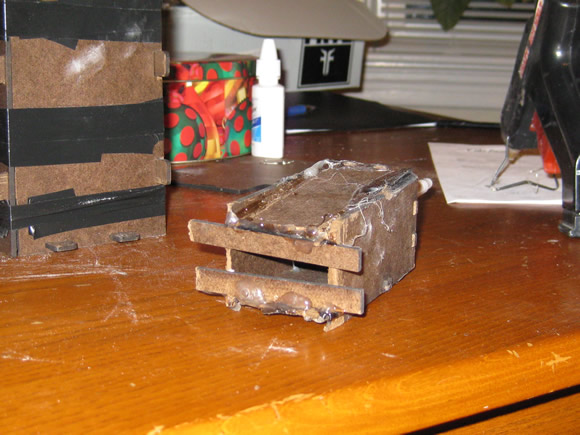
5. When casting, I did my best to align the sides and roof together at the appropriate angles and hoped for the best. An additional laser-cut box with an empty pen casing was inserted into the larger mold when pouring the hydrostone in order to create a cavity for the wires to run form the LED on the top through the cast down into the base where the wiring, battery and other components are housed. The inside box then became part of the cast.


Removing the Casting Container:
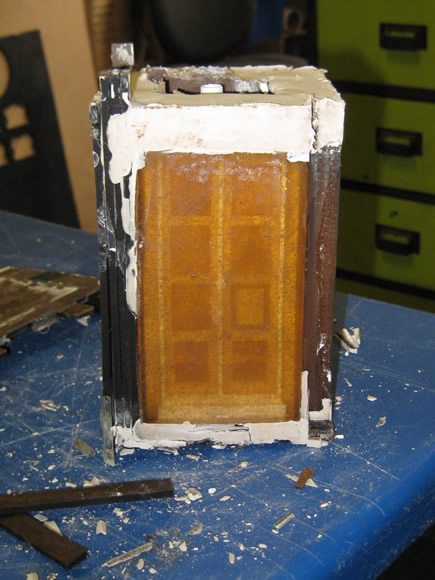
6. When taking apart the mold, I found that some of the fine details of the windows and the moldings became stuck in the urethane mold or broke off easily. I may not have mixed the hydrostone long enough, or there may have been an issue with the proportions I used. Further experimentation is this matter is needed to determine the source of the problem. This breaking away of the fine detail gave the statuette a weathered appearance, like a tombstone left out in the elements.


Adding the Electrical Components:
7. In addition – I wanted to have a LED light on the top to simulate the police box light, so when cutting the outside casting box, I cut a congruent interior box (see number 4. pictures above.) This small inside box allows for an open area for the wiring from the LED through the top of the hole in the stone to the battery. The wiring consists of:
- 1 ultra bright white 10 mm LED
- 1 330 ohm resistor
- 1 small switch
- 1 battery connector and a 9V battery
- A few lengths of wire


I dedicate this project to David Tennant for his the excellent portrayal of the 10th Doctor, which has just come to an end.
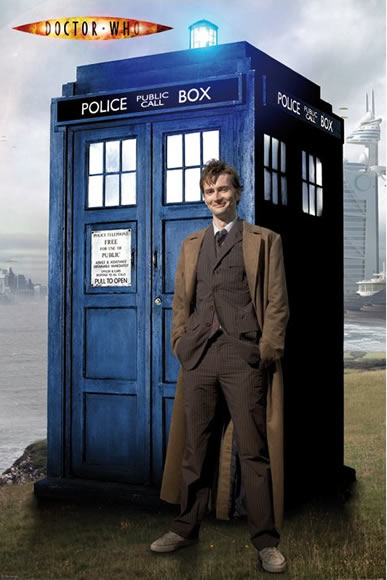
Image © BBC
