Categories
Fab Academy AS220 - Providence, RI Fab Academy Providence -Year II - Teaching

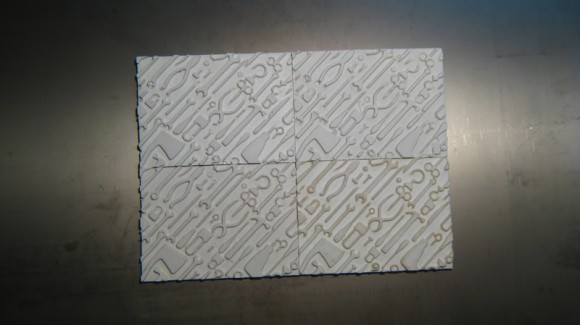
Tools Relief – Cast Attempt 2 – Success!

succesful tools relief
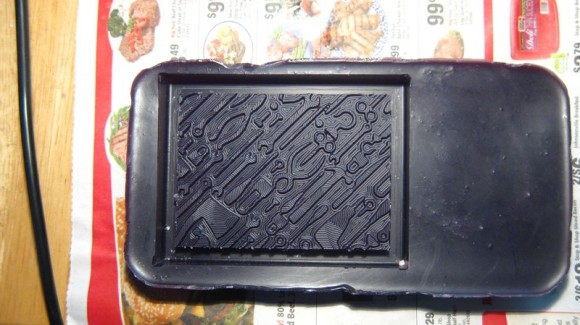
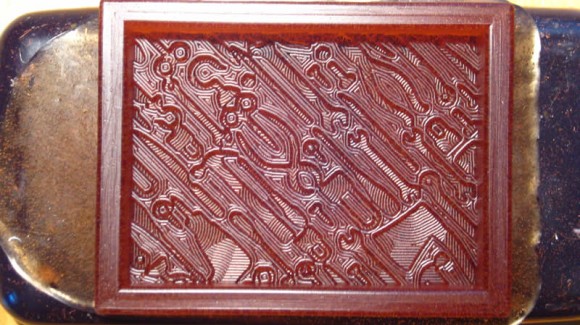
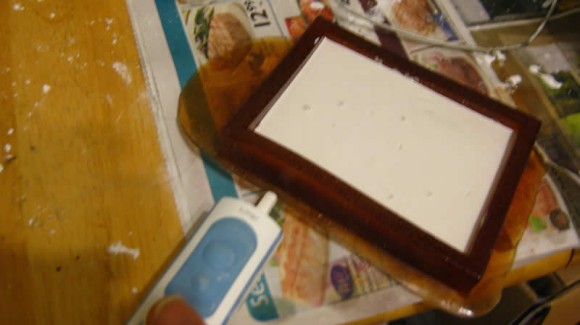
I re-milled my tools relief mold, correcting the problems inherent in the design of the first cast.  I made the border around the tools relief wider and deeper in order to have a rim to hold the poured material before creating the final cast.  In order to conserve wax (it is $29.00 a bar), I melted down used wax and shavings from previous molds.  There was some sediment / impurities that worked their way into the wax, but they sunk to the bottom and did not affect the mold.

Machinable Wax

succesful tools relief

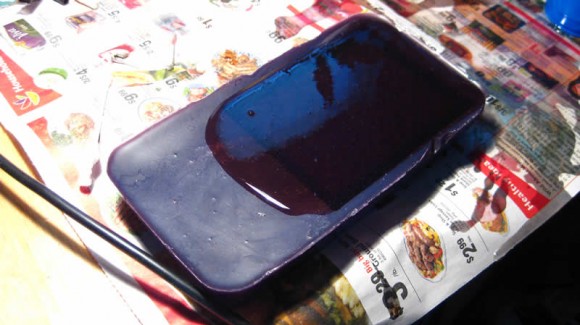
Poured Rubber Mold
succesful tools relief

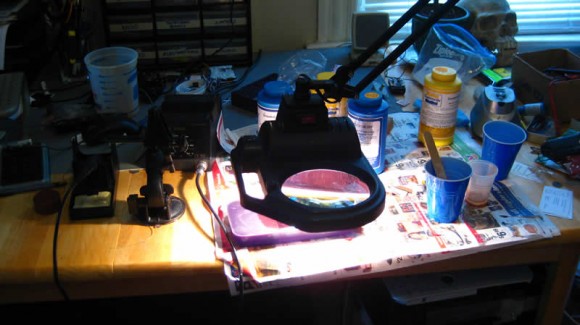
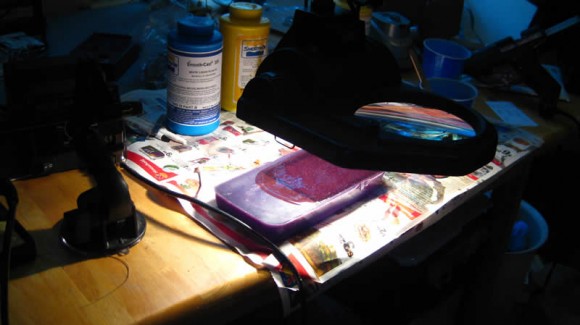
Curing the Rubber Mold with a Lamp

succesful tools reliefsuccesful tools relief

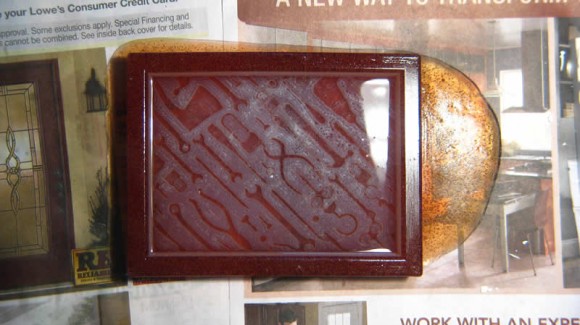
Finished Urethane Mold – Much Better!

succesful tools relief

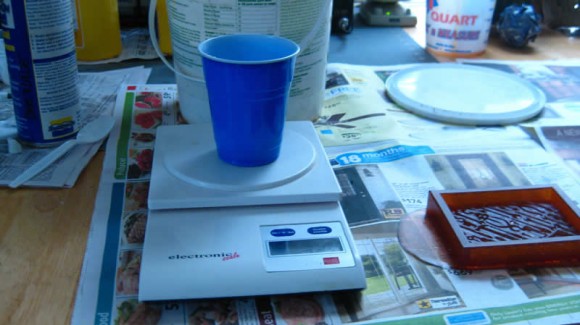
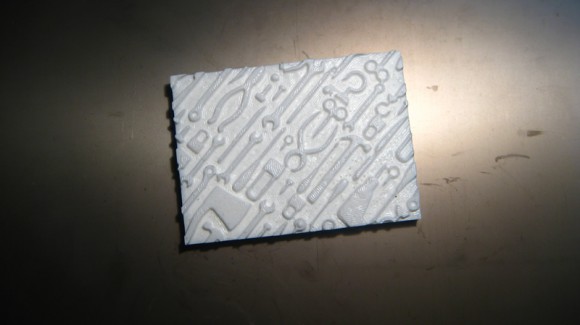
Measuring and Pouring the Smooth Cast Plastic and Hydrostone
succesful tools reliefsuccesful tools relief
succesful tools relief

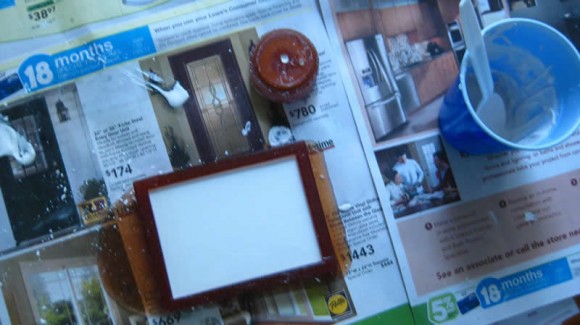
Plastic Tools Relief Cast
succesful tools relief

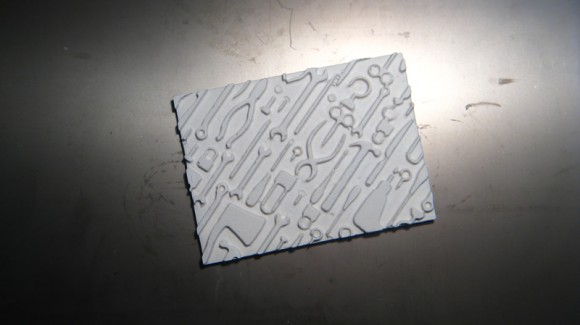
Hydrastone Tools Relief Cast
succesful tools relief

Categories
Fab Academy AS220 - Providence, RI Fab Academy Providence -Year II - Teaching

How to Update the Fab Modules for Serial Devices / Modela Milling Machine

By default the fab modules are set up to send rml files over a USB connection (/dev/ttyUSB0). If you are using a serial cable to connect to the Modela (which most of us at the Fab Academy are), you need to specify the correct path to the serial port in the fab modules.

To find out the correct serial port path:

Go to the terminal and type:

setserial -g /dev/ttyS[0123]

You will get a listing of serial ports with the port / path displayed first:
– the correct path should say  “available”  ( at our lab it was: /dev/ttyS0 ).

To change the path:

– Download the fab modules again
– After you unzip them but before you make them executable, go into the bin directory and open the rml_send and rml_move files and edit the paths in those files to use the serial connection you found on your computer.

Step by Step How to Change the Paths for Serial Connections:

cd ~/Desktop
mkdir fabmodules
cd fabmodules
wget http://kokompe.cba.mit.edu/dist/fab.zip
unzip fab.zip
cd bin
pico rml_move

In Pico
–> the file will open – edit the line that says: port=”/dev/ttyUSB0″
–> change that line to match your serial port (I changed mine to /dev/ttyS0)
– press [control]+O to save the file
– press [control]+X to exit the editor

pico rml_send

In Pico (again)
–> the file will open – edit the line that says: port=”/dev/ttyUSB0″
–> change that line to match your serial port (I changed mine to /dev/ttyS0)
– press [control]+O to save the file
– press [control]+X to exit the editor

chmod +x ./*
sudo mv bin/* /usr/local/bin

Then you should be in business.

Relaunch the fab modules and try to send a file to the machine.
Categories
Fab Academy AS220 - Providence, RI Haystack Mountain School of Crafts

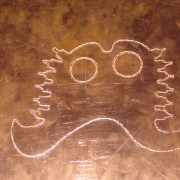
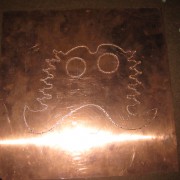
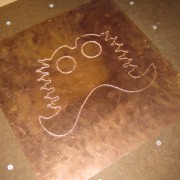
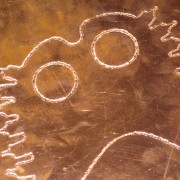
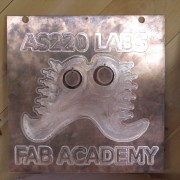
AS220 Labs / Fab Academy Sign – Metal Etching / Cutting Tests on the Shopbot


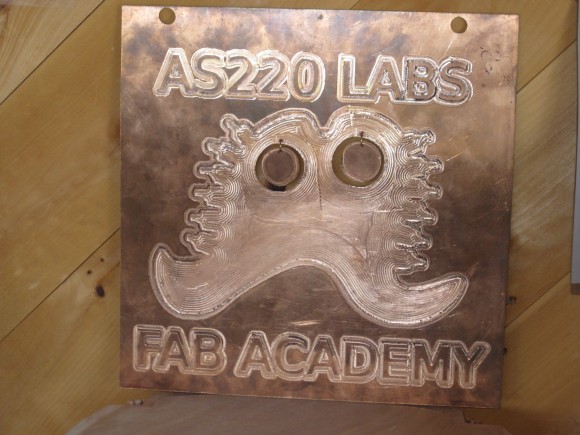
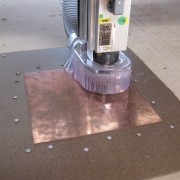
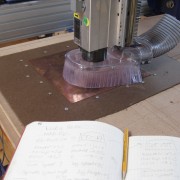
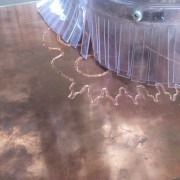
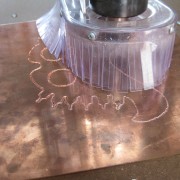
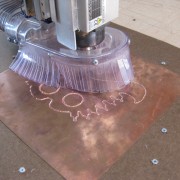
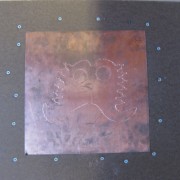
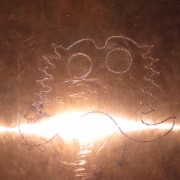
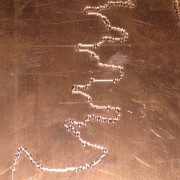
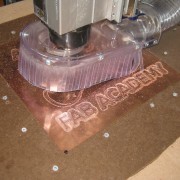
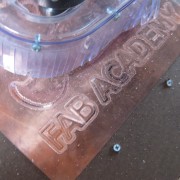
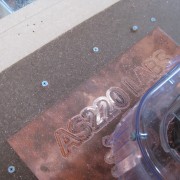
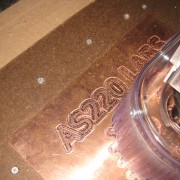
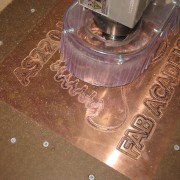
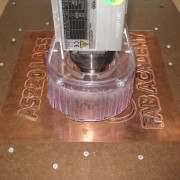
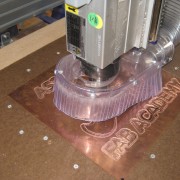
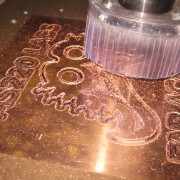
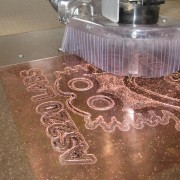
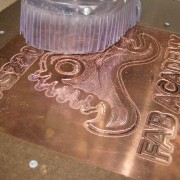
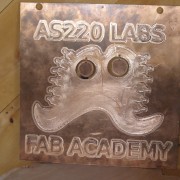
The first week I spent at the Haystack Mountain School of Crafts, Jonathan Ward was helping the students there with various metal projects. I wanted to experiment with cutting copper on the ShopBot, so I created this sign for AS220 Labs / Providence, RI Fab Academy  to be displayed at our booth at the upcoming AS220 Foo Fest.
Categories
Fab Academy AS220 - Providence, RI Fab Academy Providence -Year II - Teaching

FabRC – Fab Academy Final Project Progress

Final Project Description

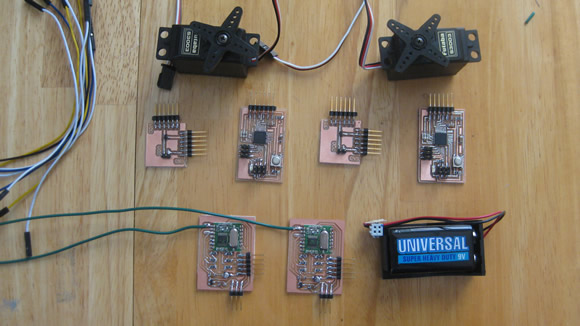
For my Fab Academy final project I have been working on a RC Car. In its final state it should:

  • Drive forward, backward and be able to stop
  • Turn left and right (forwards and backwards).
  • The car will be linked to the controller through wireless radios that communicate with modified hello Arduino boards.
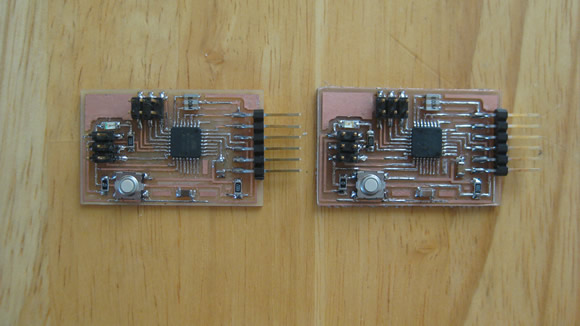
  • The modified hello Arduino boards have an extra 6-pin header in order to access the analog pins on the micorcontroller (for control buttons / pots.

Items Currently Completed

  • Arduinos and servos working together
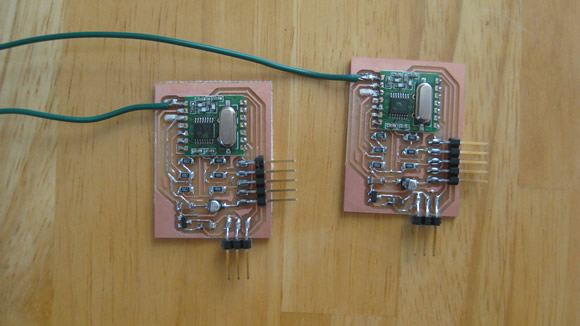
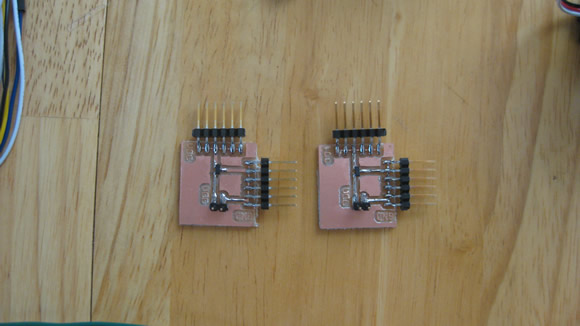
  • Radio and battery boards designed, milled and working

Completed Radio Boards


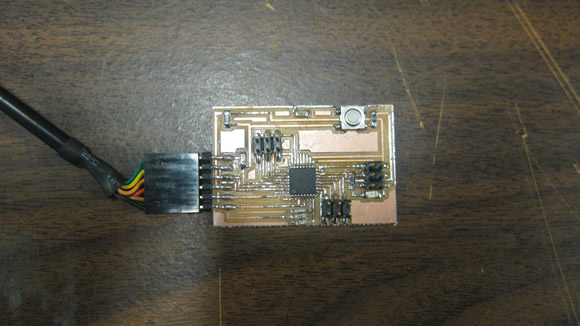
Completed Hello Arduinos

Completed Battery Connector Boards


Completed Hello Arduino w/ Analog Pin Header
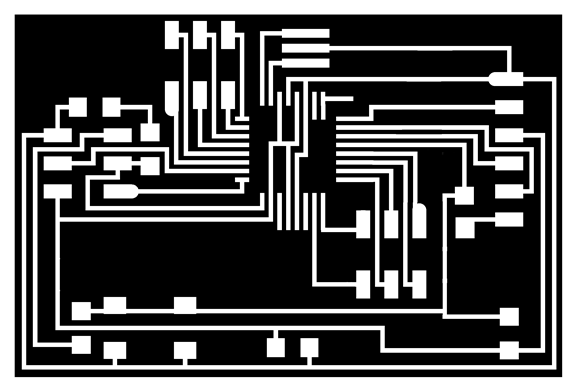
There were no analog pins pulled out to a header on the hello Arduino board – I needed some for this project – so I added an analog pin header.

Hello Arduino w/ Analog Pin Header (traces & outline)

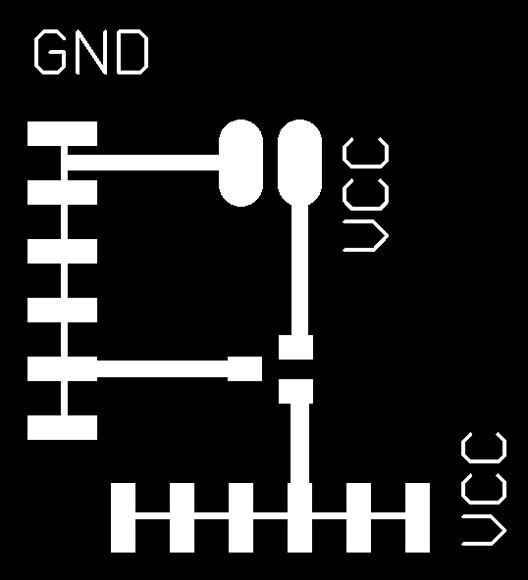
Battery Connector PNGs (traces & outline)

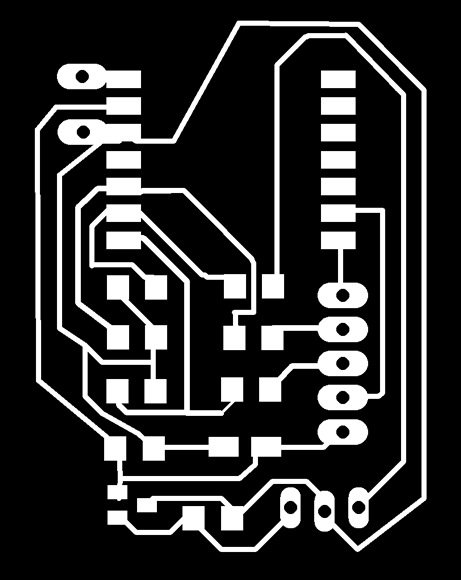
Radio Board PNGs (traces & outline)

Not Completed / Not Working Yet

  • The radio communication code has not been tested yet (short on the radio boards – still troubleshooting)
  • Still working on the press-fit car design – the car axels are not ready yet.
  • The servo controls are not hooked up.

Download Design Files (Eagle)

Get PNGs For Milling

Bill Of Materials

  • Coming Soon / Export from Eagle Files

Development Plans

  • Finish building the car
  • Test the radio boards
  • Hook up controls to the servos