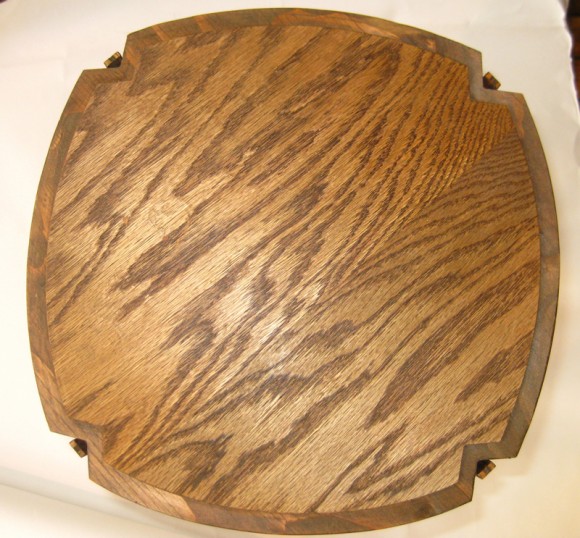
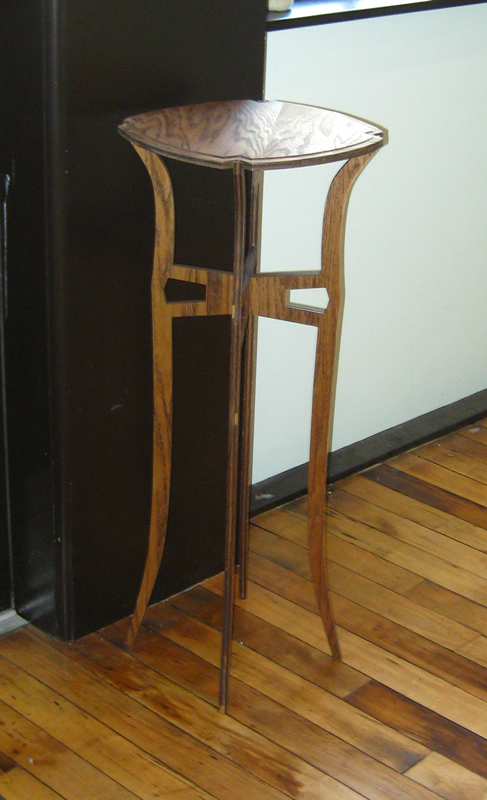
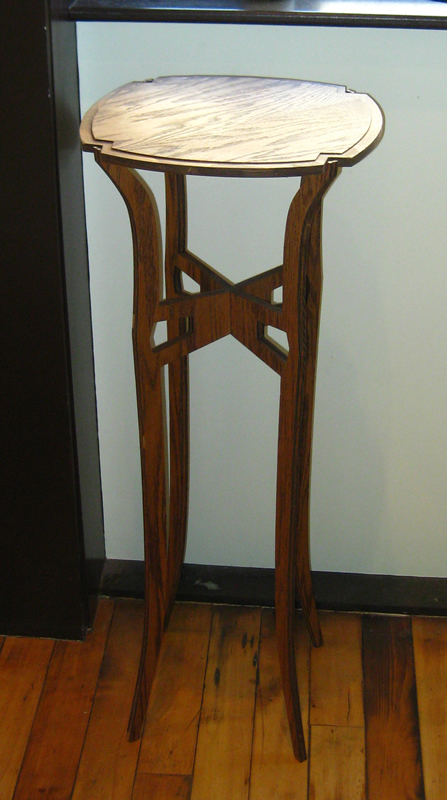
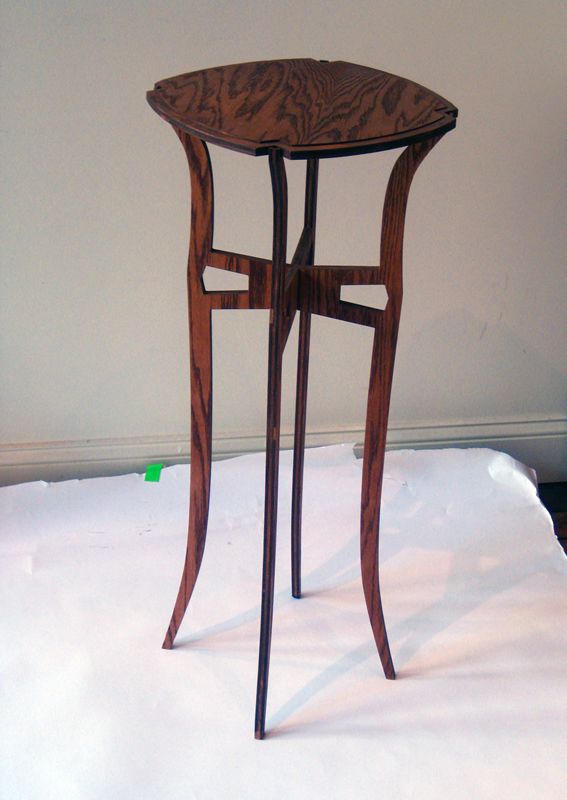
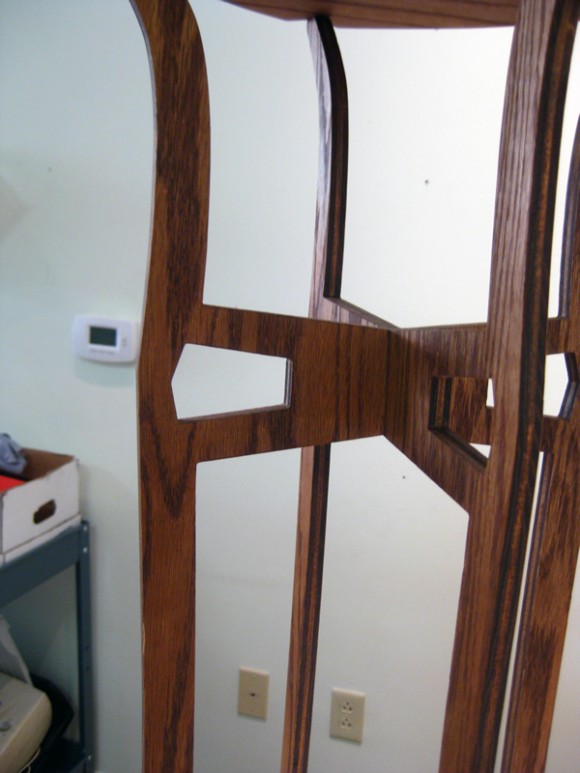
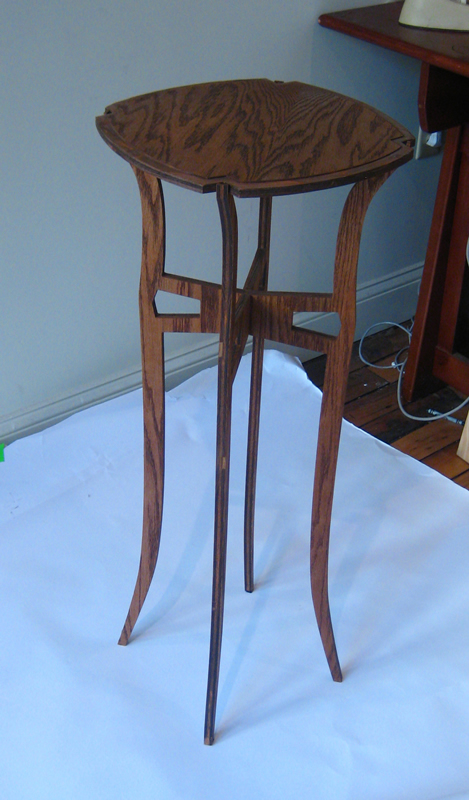
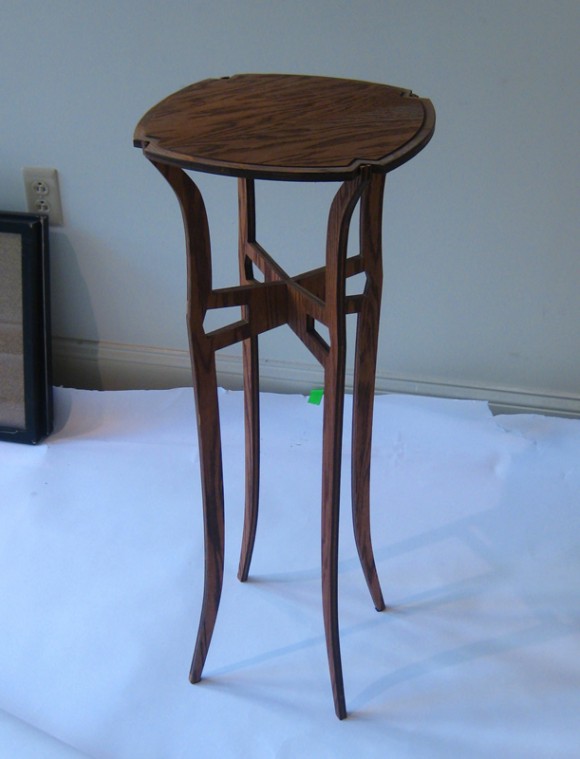
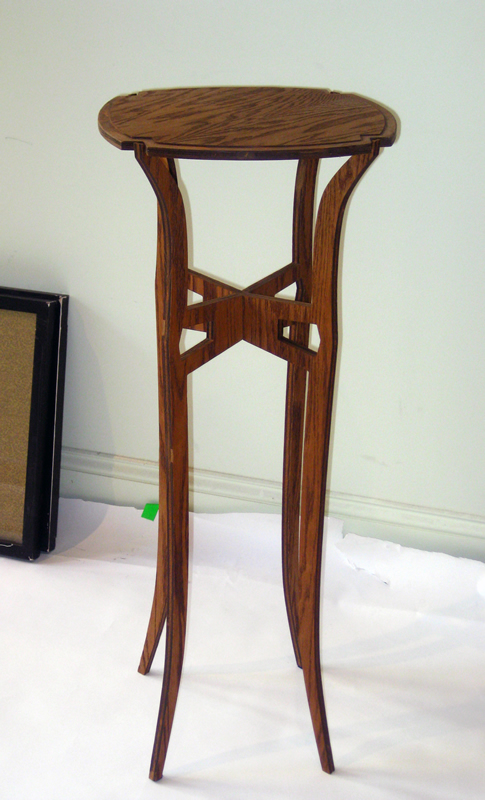
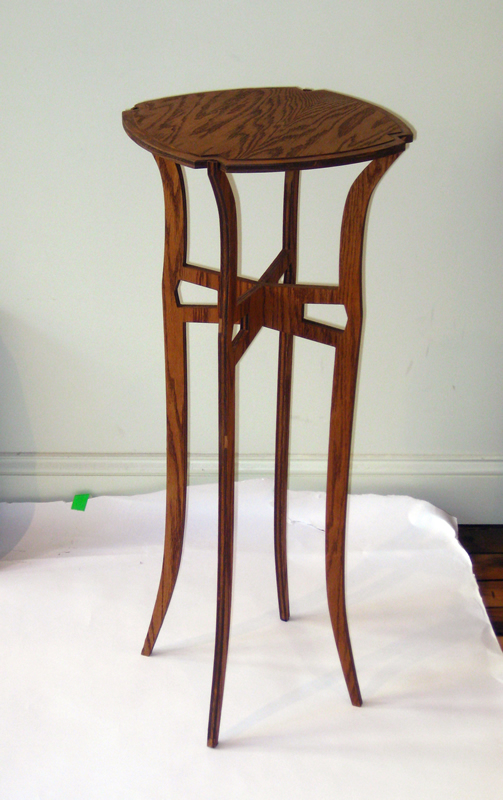
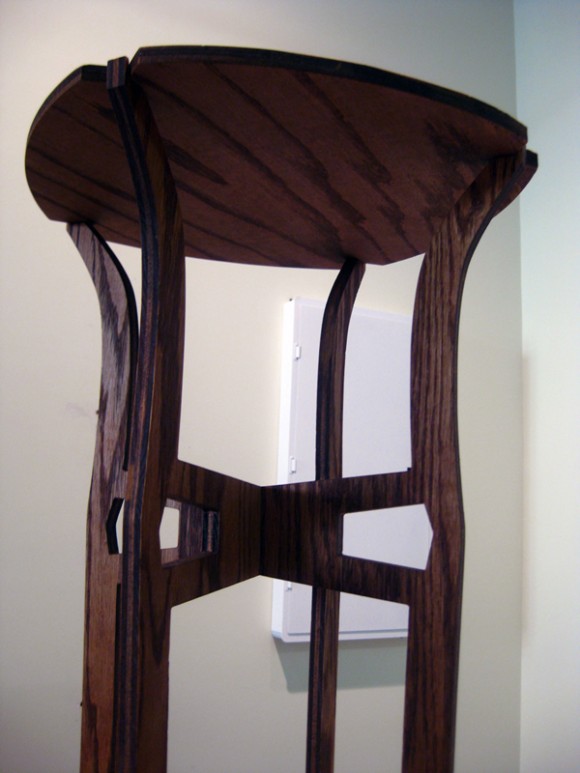
A few months ago, when I was at the Haystack Mountain School of Crafts, I cut a side table out of oak plywood on their ShopBot. I finished the table a month later with a combination of cherry and black walnut wood stain and a final coat of varnish. These pictures show the final result. This table is currently on display at the Better World by Design Conference.
Category: Fab Academy Providence -Year II – Teaching
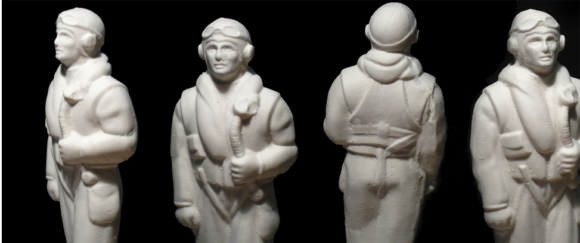
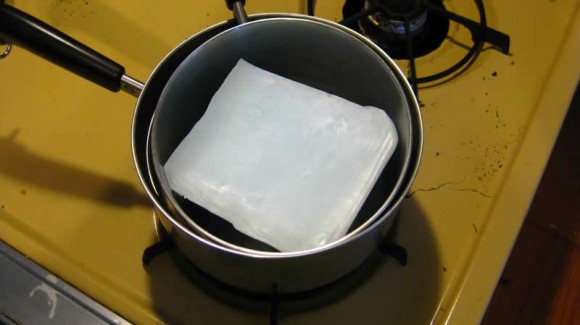
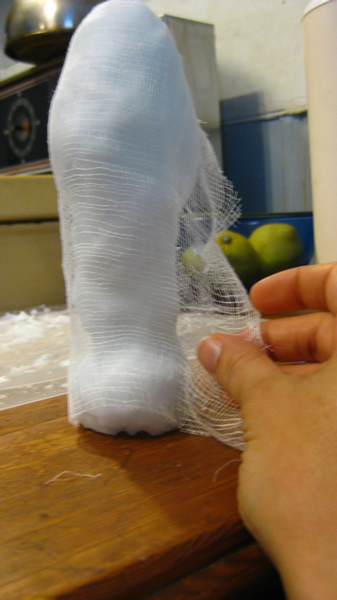
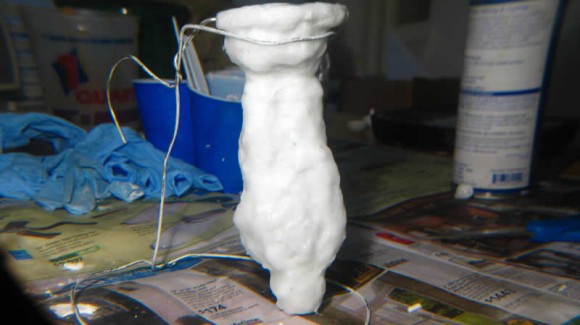
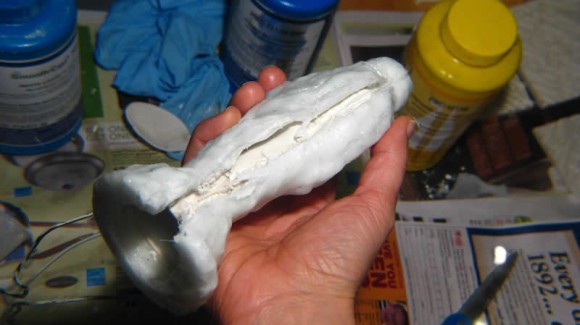
I used Flexwax to create a composite wax mold from a old glass liquor bottle my grandmother gave me. I heated up the wax, then brushed it onto the glass. After I had built up a sizable layer, I wrapped cheesecloth around the wax to strengthen the mold. I then reapplied another layer of wax. I repeated this process twice.
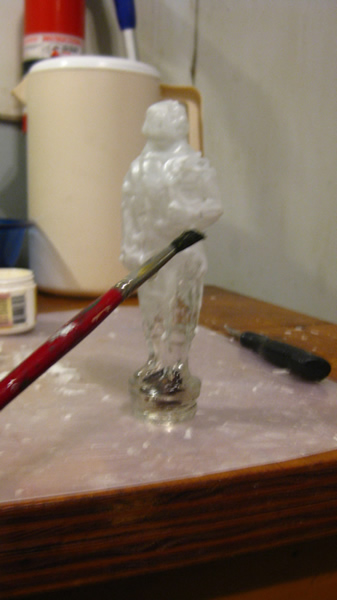
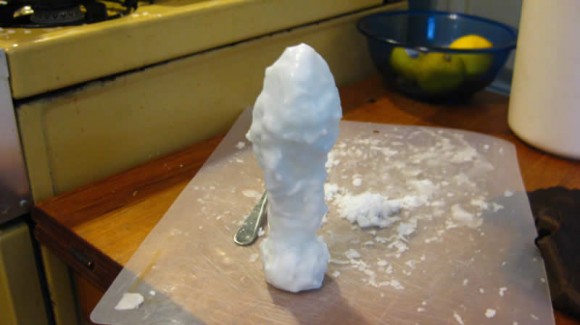
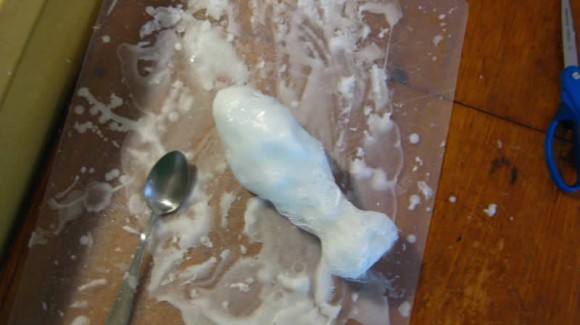
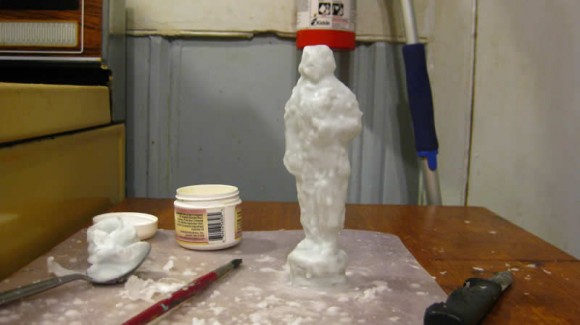
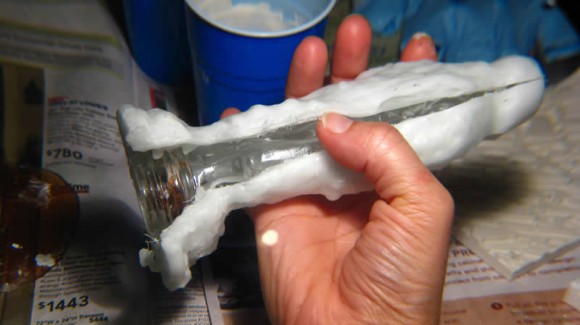
After the composite mold hardened, I cut it open down the side and removed the glass bottle. I then took a coat hanger and bent it into a stand so I could pour the Hydrostone into the mold. After the mold was poured, I cut open the wax mold (again) to remove the final Hydrostone cast.
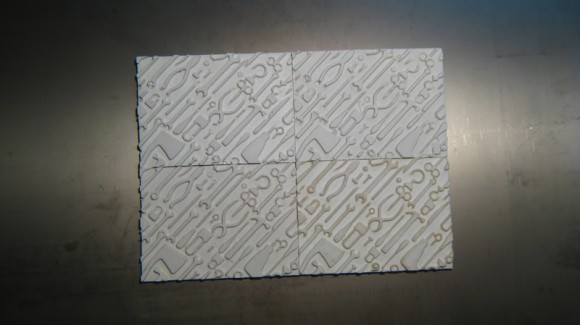
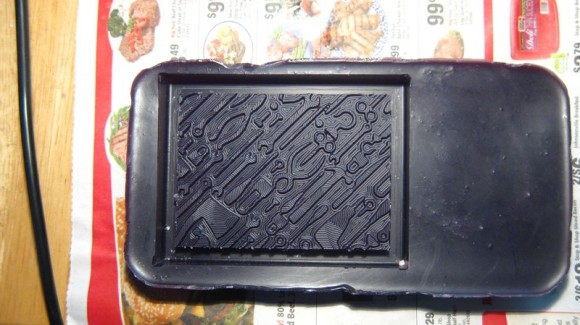
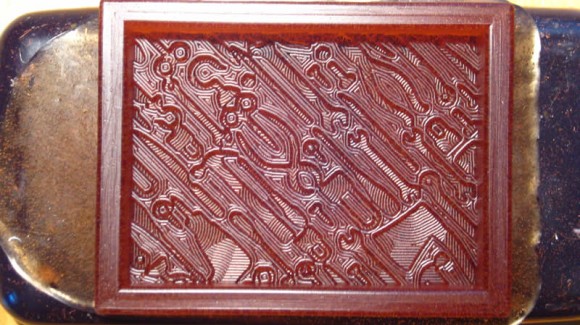
I re-milled my tools relief mold, correcting the problems inherent in the design of the first cast. I made the border around the tools relief wider and deeper in order to have a rim to hold the poured material before creating the final cast. In order to conserve wax (it is $29.00 a bar), I melted down used wax and shavings from previous molds. There was some sediment / impurities that worked their way into the wax, but they sunk to the bottom and did not affect the mold.
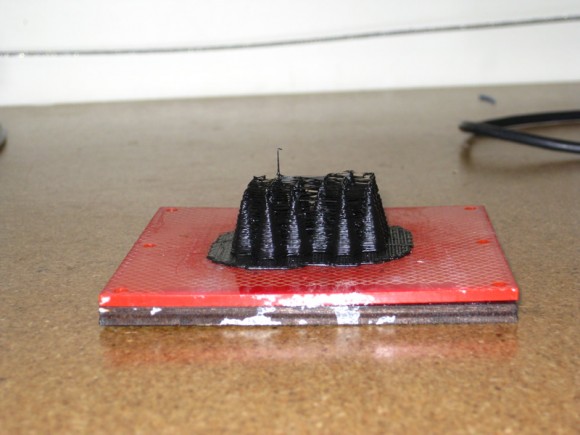
Machinable Wax
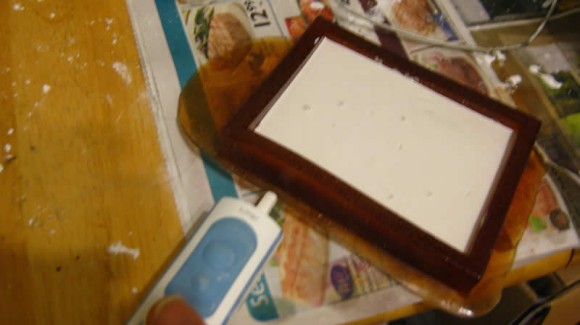
Poured Rubber Mold
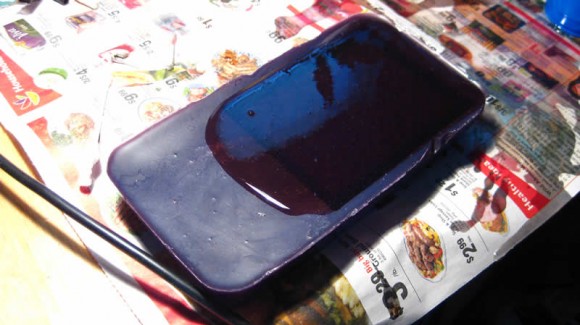
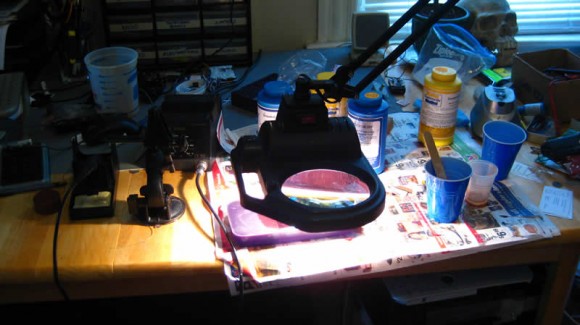
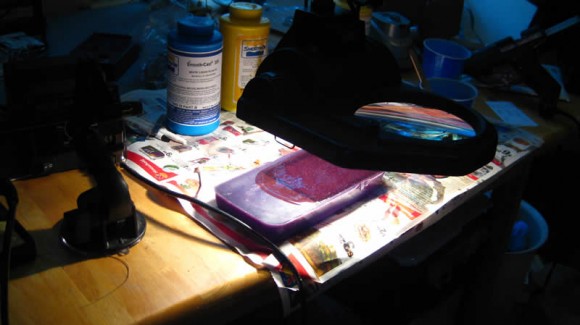
Curing the Rubber Mold with a Lamp
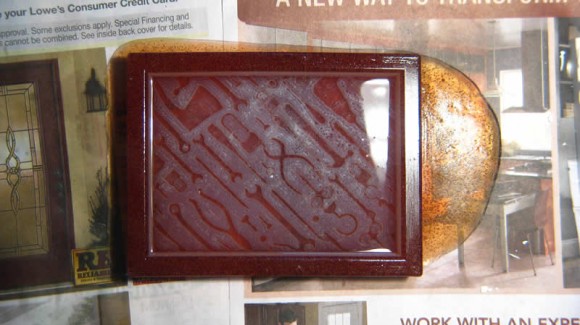
Finished Urethane Mold – Much Better!
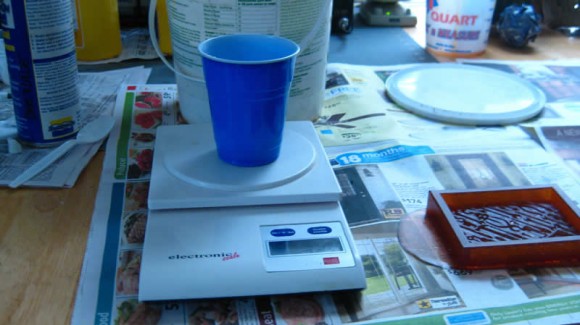
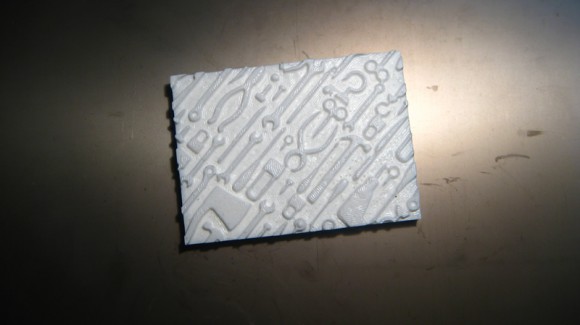
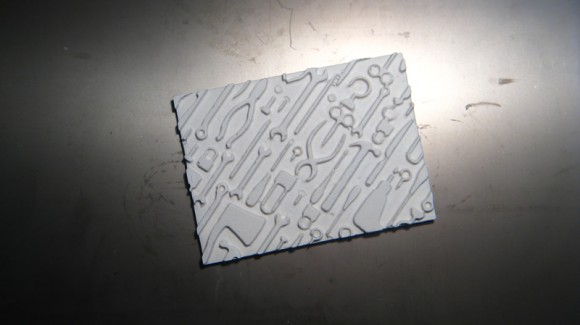
Measuring and Pouring the Smooth Cast Plastic and Hydrostone
