Categories
Laser Cutting

Photo Etching with the Laser Cutter

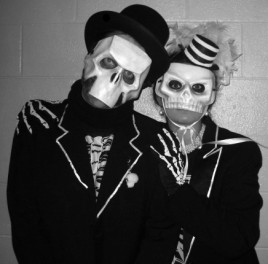
An experiment in using the laser cutter for photo etching.  First, convert the photo to gray-scale / desaturate and crop.

Original Photo & Grayscale Conversion

Bill and Anna France Celebrate Skeleton Marti Gras Style Halloween 2009 at the GCB.

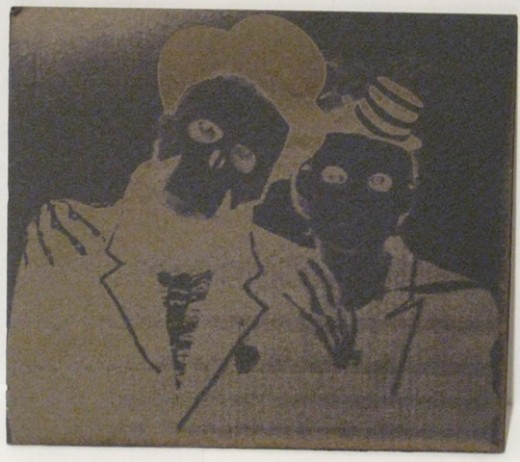
Then – print to the laser cutter, using the settings for mat board.

Laser Cut Photo Etch – Final Effect (Printed on Black Mat Board)

Laser etch of photo

Categories
Laser Cutting

Mammoth Sculpture – Press Fit Acrylic

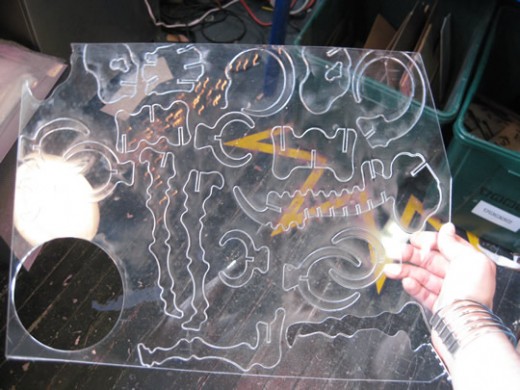
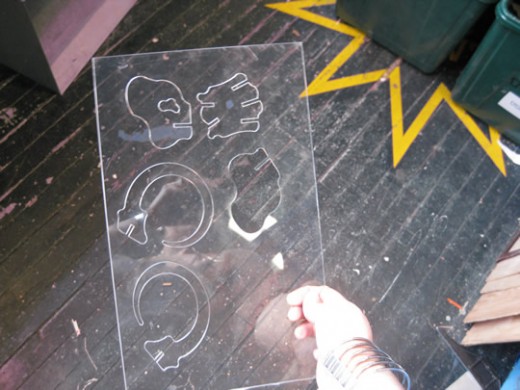
I wanted to see how different materials respond to the laser cutter, so I attempted to cut a press fit mammoth out in 1/8″ acrylic.

mammoth

mammoth

I must need to tweak the laser cutter settings. I was not successful. The laser did not cut all the way through most of the acrylic and most of the pieces would not pop out or broke on me. I will revisit this project after adjusting the laser cutter settings.

Categories
03 Computer-Controlled Cutting Fab Academy AS220 - Providence, RI Fab Academy Providence -Year I - Student Projects Laser Cutting

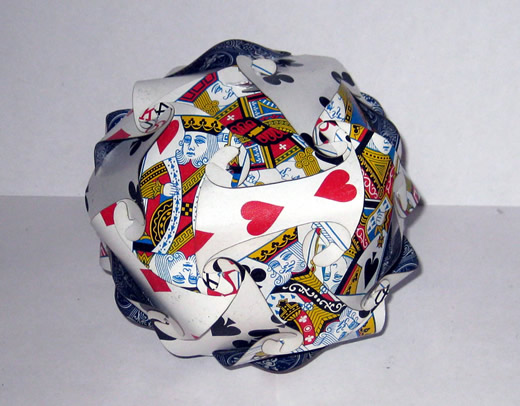
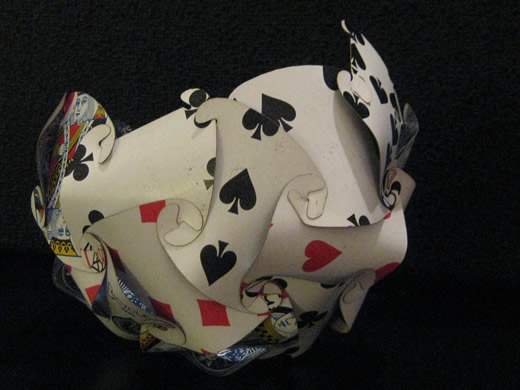
Laser Cut Playing Cards – Construction Kit

card ball finalcard ball final

The Fab Academy Assignment

  • Make a press-fit construction kit

The Project: Laser-Cut Playing Cards Construction Kit

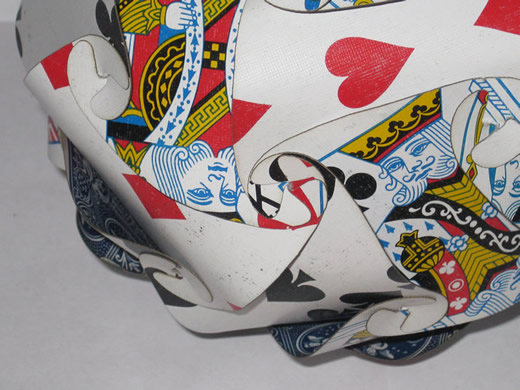
When reading through instructables.com, I found a great pattern for a polygon construction kit.  I thought I would use it for my first laser cutter / computer controlled cutting project at Fab Academy.  The instructable I reviewed is for a plastic lamp shade, but I decided to use playing cards instead and make a construction kit minus the lamp.  (Also, the cards are too opaque for a lamp and I didn’t want to take a chance with heat in such a small space.)  In the end, I created a sculpture construction kit.

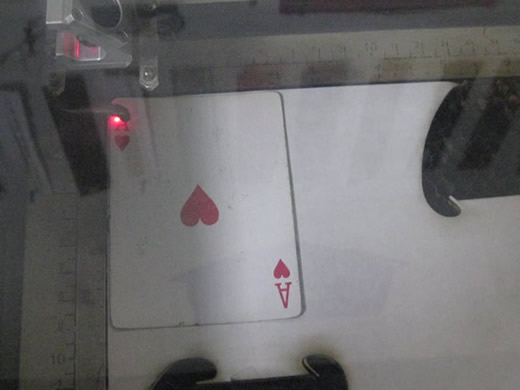
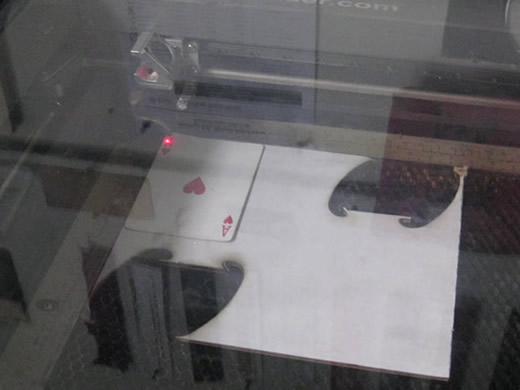
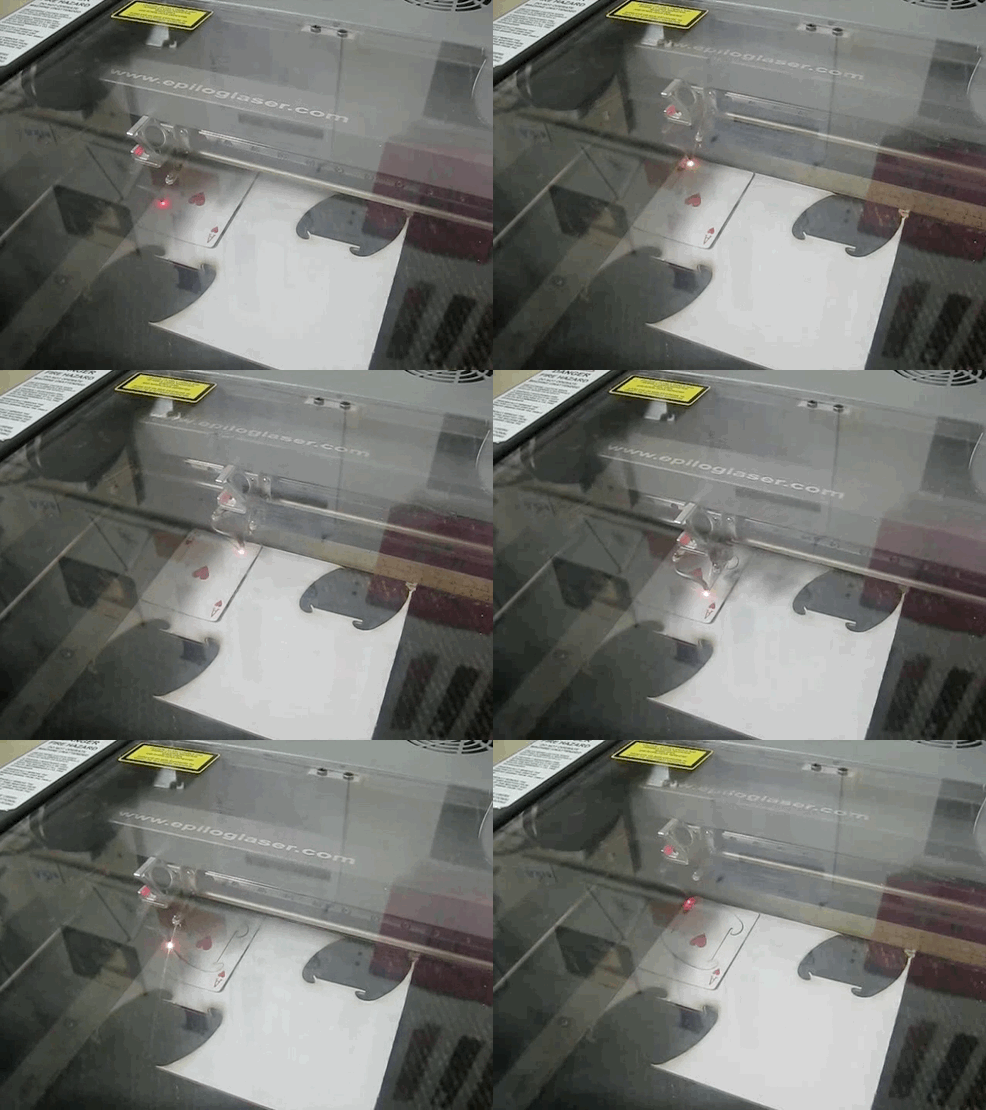
Laser Cutting the Cards:

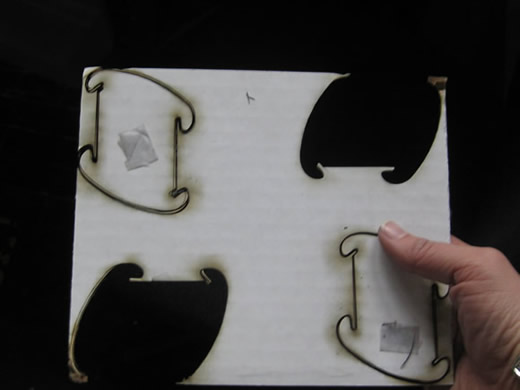
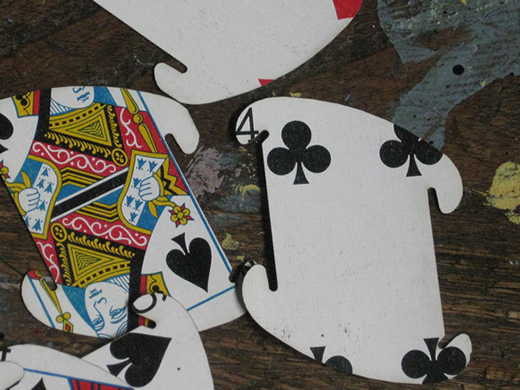
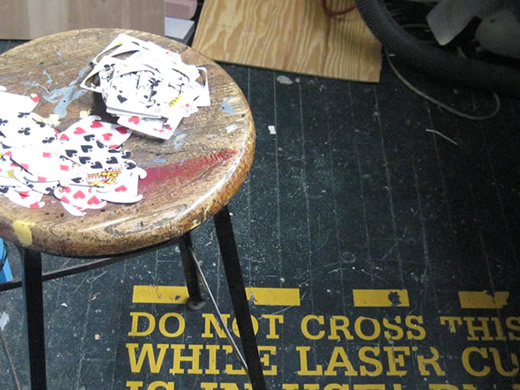
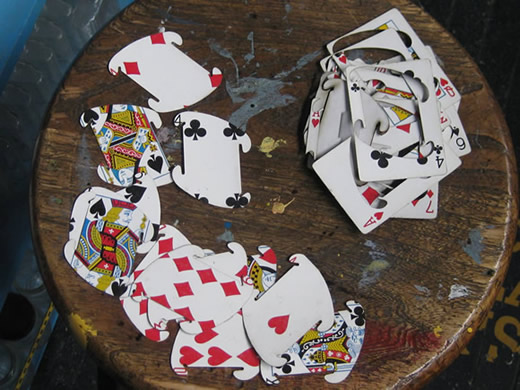
laser cutting cardslaser cutting cardslaser cutting cardsCut Card Peiceslaser cutting cardslaser cutting cards

Laser Cutting Video:

Putting Together The Construction Kit:

This construction kit shape can be put together to form a variety of shapes.

Skills Learned

  • I leaned how to use Inkscape to create files that would create cut shapes when sent to the laser cutter.

Tools Used

  • Epilogue Mini Laser Cutter
  • Inkscape
Categories
02 Computer-Aided Design / Modeling Fab Academy AS220 - Providence, RI Fab Academy Providence -Year I - Student Projects

TARDIS: 3D Modeling

My 3D Modeling and Casting project is to make a model of the outside of the TARDIS.  I used the scale and dimensions from G. Hartley’s plans to make an 8 inch model TARDIS.

G. Hartley’s Original Plans
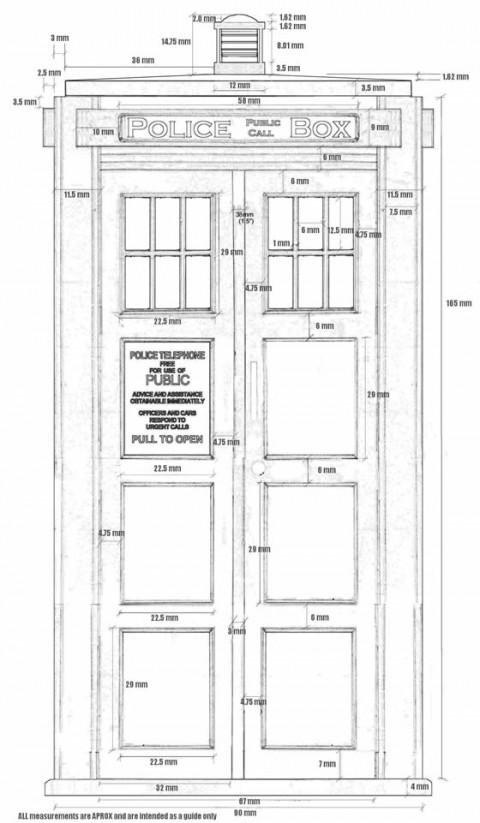
Tardis Measurement Model

The Fab Academy Assignment

  • design a 3D model of a potential semester project
  • render it
  • extra credit: physically model it

The Project: 3D model of TARDIS

Skills Learned

  • Learned how to create a 3D model
  • learned to think in three dimensions – advance planning of how objects are put together before modeling.

Tools Used

  • Google Sketchup

I used these plans to create a 3-D model in Google Sketchup
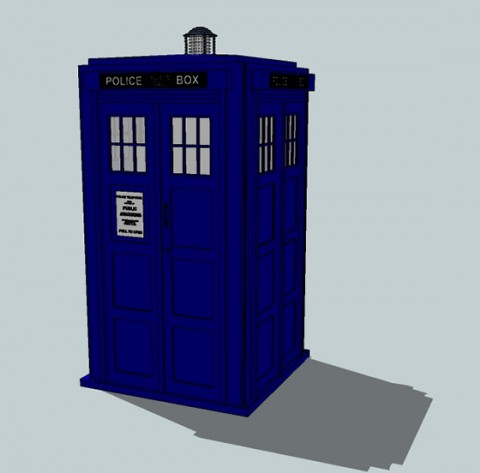
Tardis 3D Model

However, as the milling machine cannot carve out negative space, the faces on the sides or the model could not be created.  In order to create a machinable mold, I had to take the 3D model apart into three sections:  the roof, the front door and a side (3 of the sides are the same).

In addition, I also removed some details that were in the original 3D model, like the light on top of the box and the all of the “Police Box” lettering.  The light was not transferring properly into the CAD file and the lettering would be too fine for the bit on the milling machine. (I plan to create a sticker or letter by hand). I also scaled the model down from 8 inches high to 4.8″ so it could fit within the block of machinable wax.

Shawn Wallace  suggested that I cast an LED into the model and use it for the light on top of the box.  Brilliant.

The Roof, Side Door and Front Door
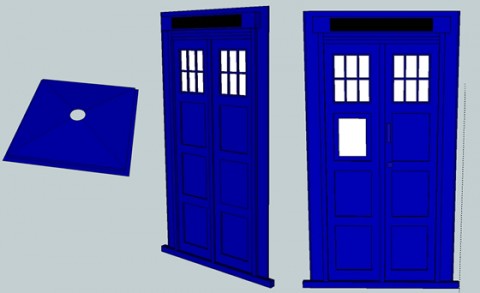
Tardis Faces

Sketchup exports .stl ASCII files and I needed them to be in binary.  I opened the files in Meshlab and then exported them as .stl binary files.   Next I ran the .stl files through stl2png.py to convert the depths to grayscale.

The final result (roof not shown)
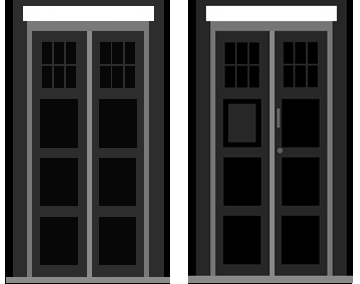
tardis png
The next steps are:
1. Mill out the 3 of the mold pieces
2. Cast with rubber, making 3 casts of the side view
3. Create a laser-cut box that will hold the mold together when it is being cast with hydrastone.
4. Cast with hydrastone.