Categories
06 Embedded Programming Fab Academy Providence -Year I - Student Projects

Modified Hello Echo – Part II: Hello Echo + Button + FTDI

Modified Echo Version 2 – In Production

I am having some issues with the Modela this week. I milled this board last night, but it came out hairy / torn up. I will give it another go tonight.

Eagle Files

Download Eagle file for the Board: hello_echo_button_07.26.2010.brd
Download the Eagle File for the Schematic: hello_echo_button_07.26.2010.sch

Modified Hello Echo + FTDI + Button v.2 - Board
Modified Hello Echo + FTDI + Button v.2 Schematic
Categories
13 Machine Design Fab Academy AS220 - Providence, RI Fab Academy Providence -Year I - Student Projects

The Mantis Hardware + Software Trial Run

After we put the spindle together – Shawn and I tested the Mantis to see if it would respond to commands. It looks like Fab Academy AS220 (with a huge effort on Noah’s part) put machine together properly.

The Mantis responded to the following commands (see screenshots) and responded well. The next step is to figure out how to feed an .rml file into the software. (in progress). After that we need to mill a board on the Mantis and see how it turns out.

screenshotscreenshotscreenshot
Categories
06 Embedded Programming Fab Academy Providence -Year I - Student Projects

Modified Hello Echo – Part I: Hello Echo + Button + FTDI

Modified Echo Version 1 – Complete But Broken

This version milled out a bit hairy. Some of the traces were broken, so I used jumpers to re-connect them.

Modified Hello Echo + FTDI + Button  v.1

There must have been a short somewhere – after stuffing it, setting the fuses and flashing it, I plugged it in to a 9v battery and received a puff of smoke for my efforts. The LED went on – then smoke came out.

Modified Hello Echo + FTDI + Button v.1

In addition, I placed the button too close to the programming header, making it hard to press the button. I am not including the Eagle board or schematic here – see version 2 for a better board.

Back to Eagle!!! See version 2 for a (hopefully) improved and working board).

Categories
09 3D Scanning and Printing Fab Academy AS220 - Providence, RI Fab Academy Providence -Year I - Student Projects

First 3D Scans – Modela Scan of Laughing Die and Shell

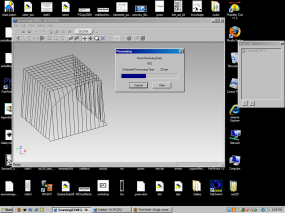
  “Laughing” Die 3D Scan Data
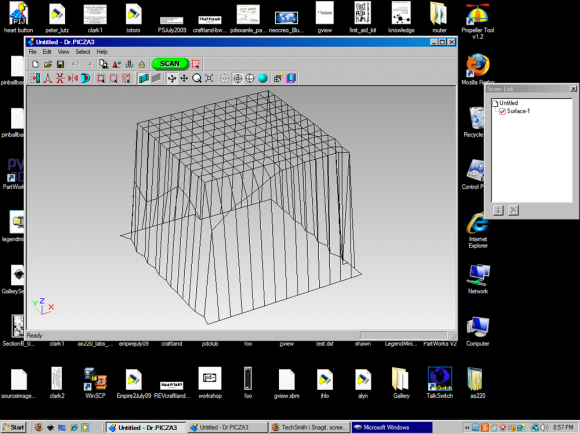
cube scan

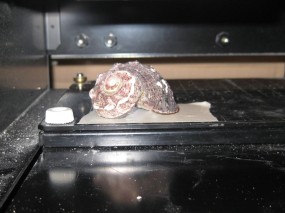
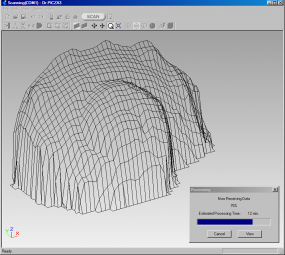
Shell 3D Scan Data
3D_Scanning_Inshell7.pngshell scan
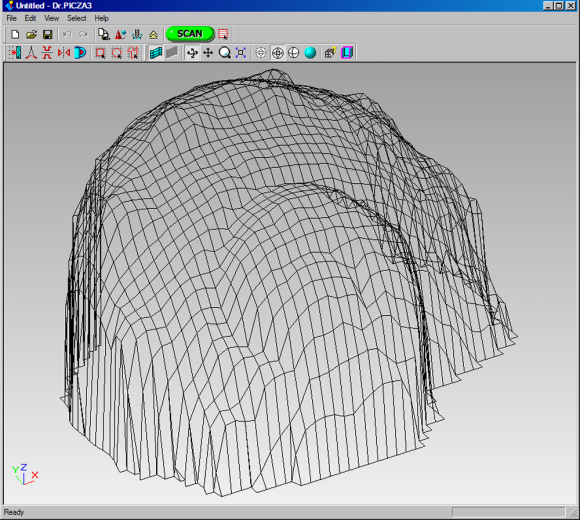
The Fab Academy Assignment
The assignment was to scan an object. I used the scanning attachment for the Modela milling machine and the Dr. Picza 3 software that comes with the Modela.  The Dr. Picza software works well enough, but unfortunately, it only runs on Windows.

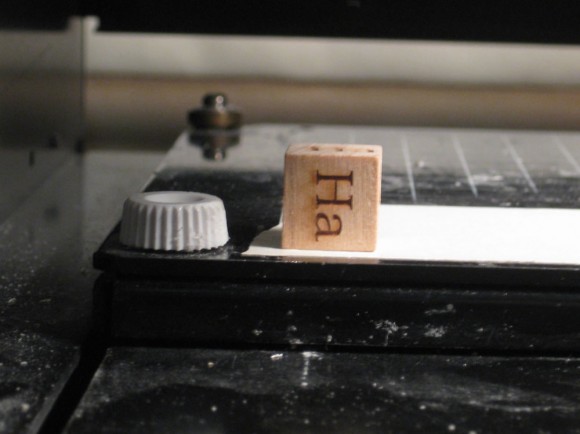
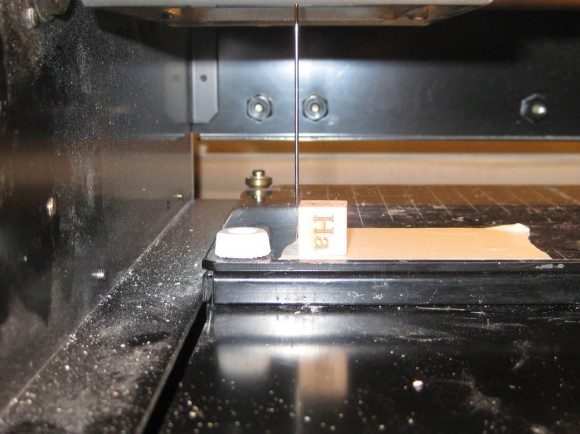
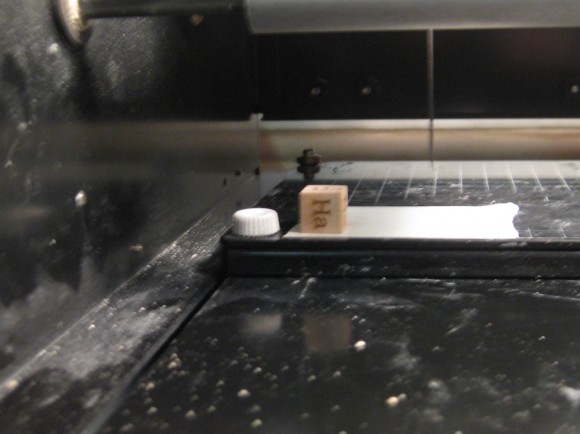
The yellow Modela attachment (see pictures below) taps around the surface of an object using a touch sensor in order to scan a representation of it into the computer.

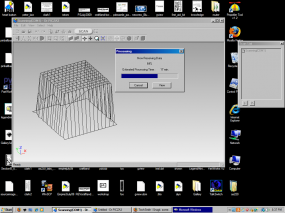
The objects I scanned were one of Shawn Wallace’s “laughing” dice and a shell we had laying around the lab. The output was saved as screenshots and as an .stl file that can be imported into meshlab and then cleaned up and (hopefully) printed with the Makerbot Cupcake CNC printer.

Laughing Die Scanning Process
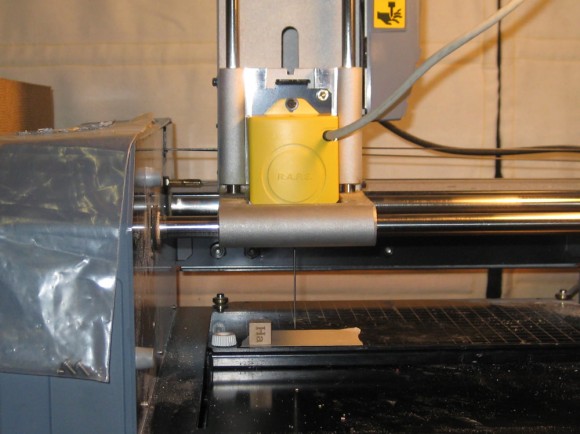
die scandie scandie scandie scan

Laughing Die Scan Output

Shell Scanning Process
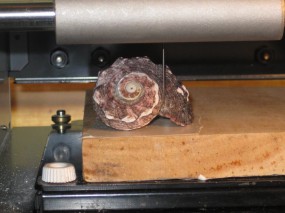
Shell Scan Output